DIY No Waste Chicken Feeder: Step-by-Step Build and Setup Guide
A step-by-step guide to building a DIY no waste chicken feeder using port fittings, a clean bucket and proper feeding height to stop feed spillage.

On this page
Top picks at a glance
As an Amazon Associate I earn from qualifying purchases.
- 1
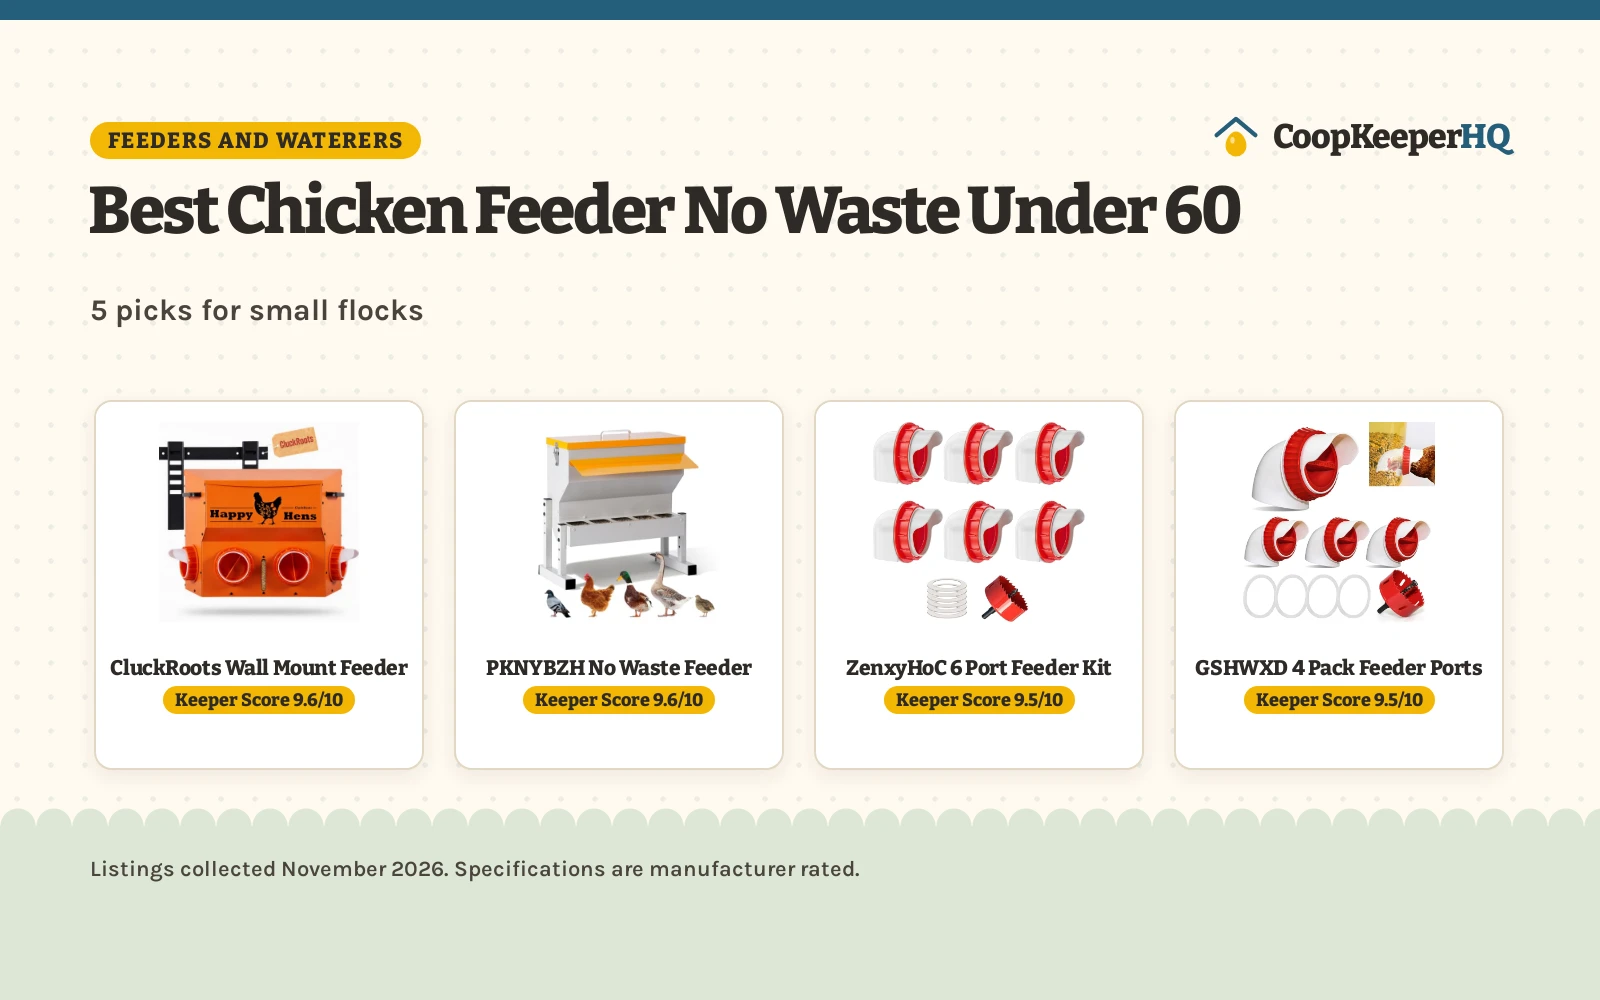
 CluckRoots Wall Mount Chicken Feeder 16-18 Lb Metal No Waste9.6/10View on Amazon
- 2
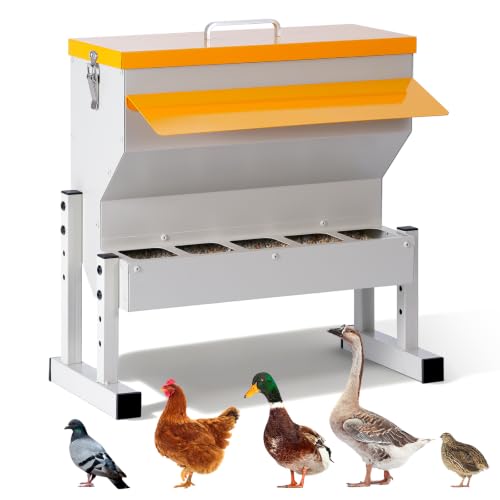 PKNYBZH No Waste Automatic Chicken Feeder 16L Metal 5 Ports9.6/10View on Amazon
- 3
 No Waste Chicken Feeders9.5/10View on Amazon
- 4
 Grandpas Feeders Automatic Chicken FeederView on Amazon
- 5
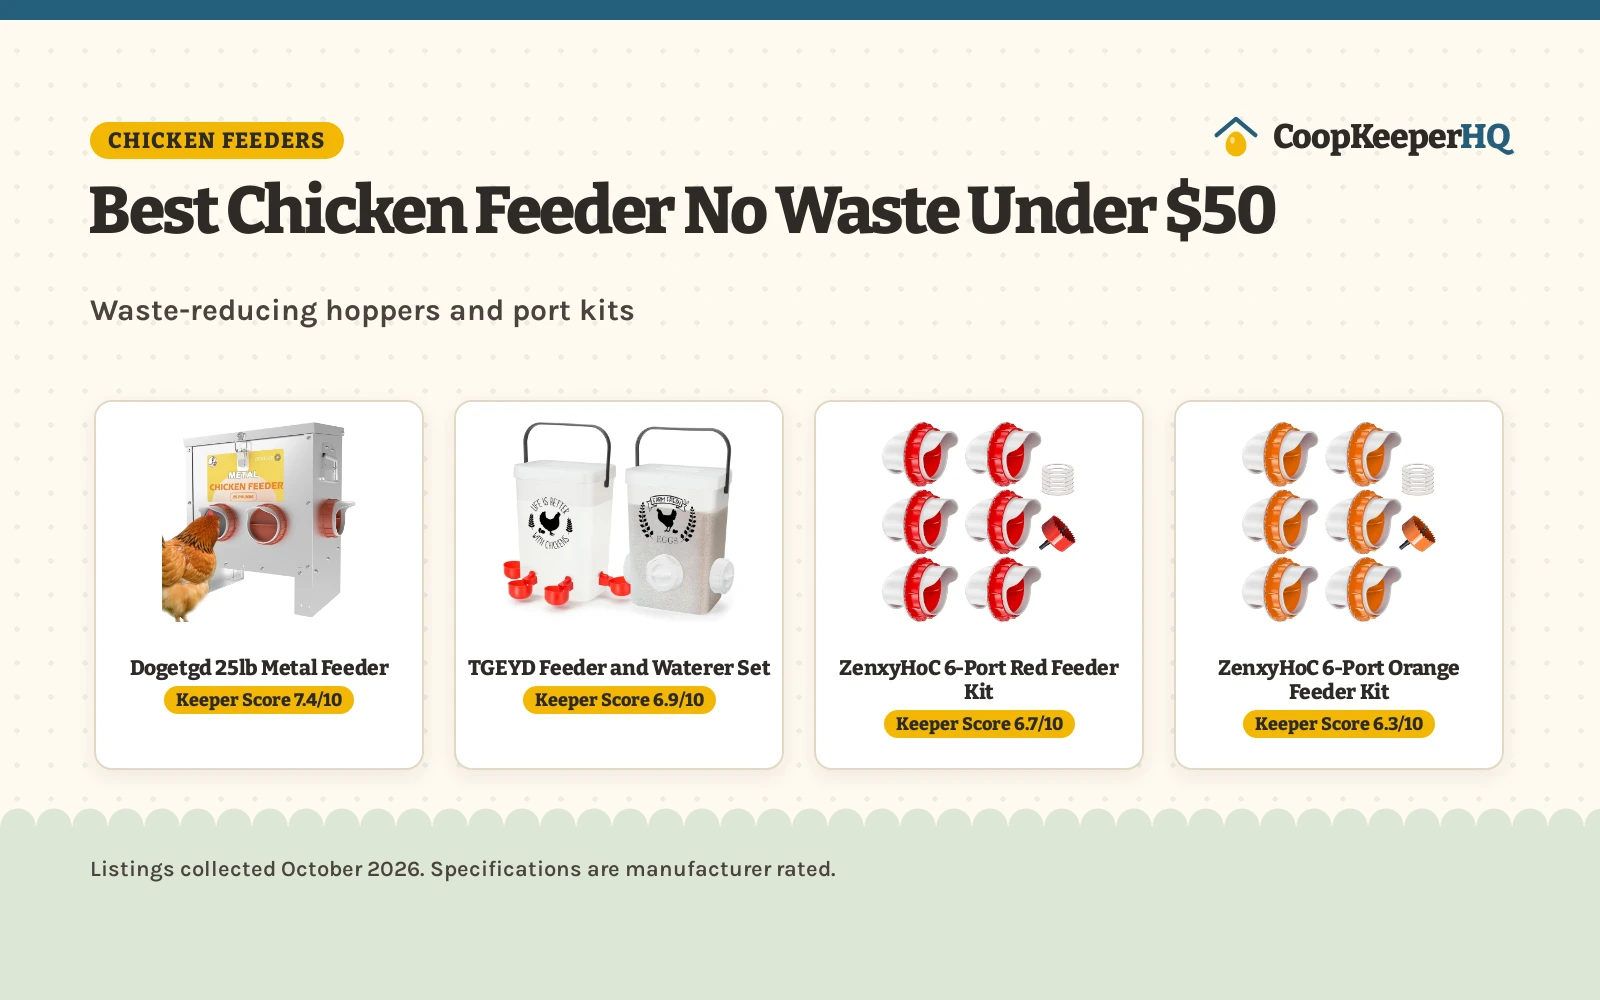
 GADFISH 55 lbs Large Capacity Automatic Chicken FeederView on Amazon
- 6
 KOL Hanging Chicken Feeder 20lbs Metal Chicken Feeder No WasteView on Amazon
- 7
 HAYOHRT 85-120LBS Capacity Chicken Feeder No Waste 10-PortsView on Amazon
- 8
 KOL 50LB Metal Chicken FeederView on Amazon
- 9
 50LB Automatic Chicken FeederView on Amazon
A diy no waste chicken feeder uses curved gravity ports installed in the side of a covered container to let poultry eat while preventing them from scratching and spilling crumbles onto the ground. Hens reach their heads through the port to access food, but the downward opening prevents the natural side-to-side bill sweeping that flings feed into coop bedding. Building your own feeder with commercial ports and a clean plastic container takes minimal assembly and cuts flock feed waste immediately.
Other options for the coop
 Grandpas Feeders Automatic Chicken FeederCheck price on Amazon
 GADFISH 55 lbs Large Capacity Automatic Chicken FeederCheck price on Amazon
 KOL Hanging Chicken Feeder 20lbs Metal Chicken Feeder No WasteCheck price on Amazon
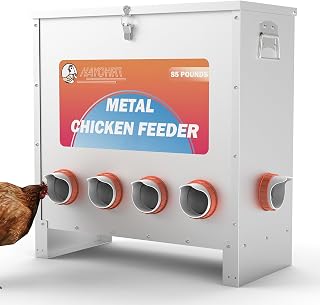 HAYOHRT 85-120LBS Capacity Chicken Feeder No Waste 10-PortsCheck price on Amazon
 KOL 50LB Metal Chicken FeederCheck price on Amazon
 50LB Automatic Chicken FeederCheck price on Amazon
CoopKeeperHQ earns a commission if you buy through our links, at no added cost to you. Affiliate disclosure.
DIY no waste chicken feeder: how the port system works
Traditional open troughs and trough feeders allow chickens to peck, scratch and rake feed with their beaks. This bill-sweeping behavior tosses expensive grains and crumbles into the bedding, where moisture and droppings ruin it. A port feeder solves this by enclosing the feed supply and forcing the bird to reach straight into an opening. Because the hen cannot sweep sideways inside the port collar, feed stays inside the container. If you prefer a preassembled option rather than building, our no waste chicken feeder guide compares commercial choices.
Choosing the right container and feeder ports
The foundation of a good build is a clean, sturdy container with a tight lid. Food-grade buckets, heavy storage totes and plastic drums all serve well as feed reservoirs. The container needs smooth, vertical side walls where the ports can sit flush against the plastic without warping. A secure, snap-on or threaded lid is essential to keep humidity, rain and rodents out of the feed hopper. If you need inspiration on different container styles, our guide to the types of chicken feeders reviews the pros and cons of buckets, troughs and hopper bins.
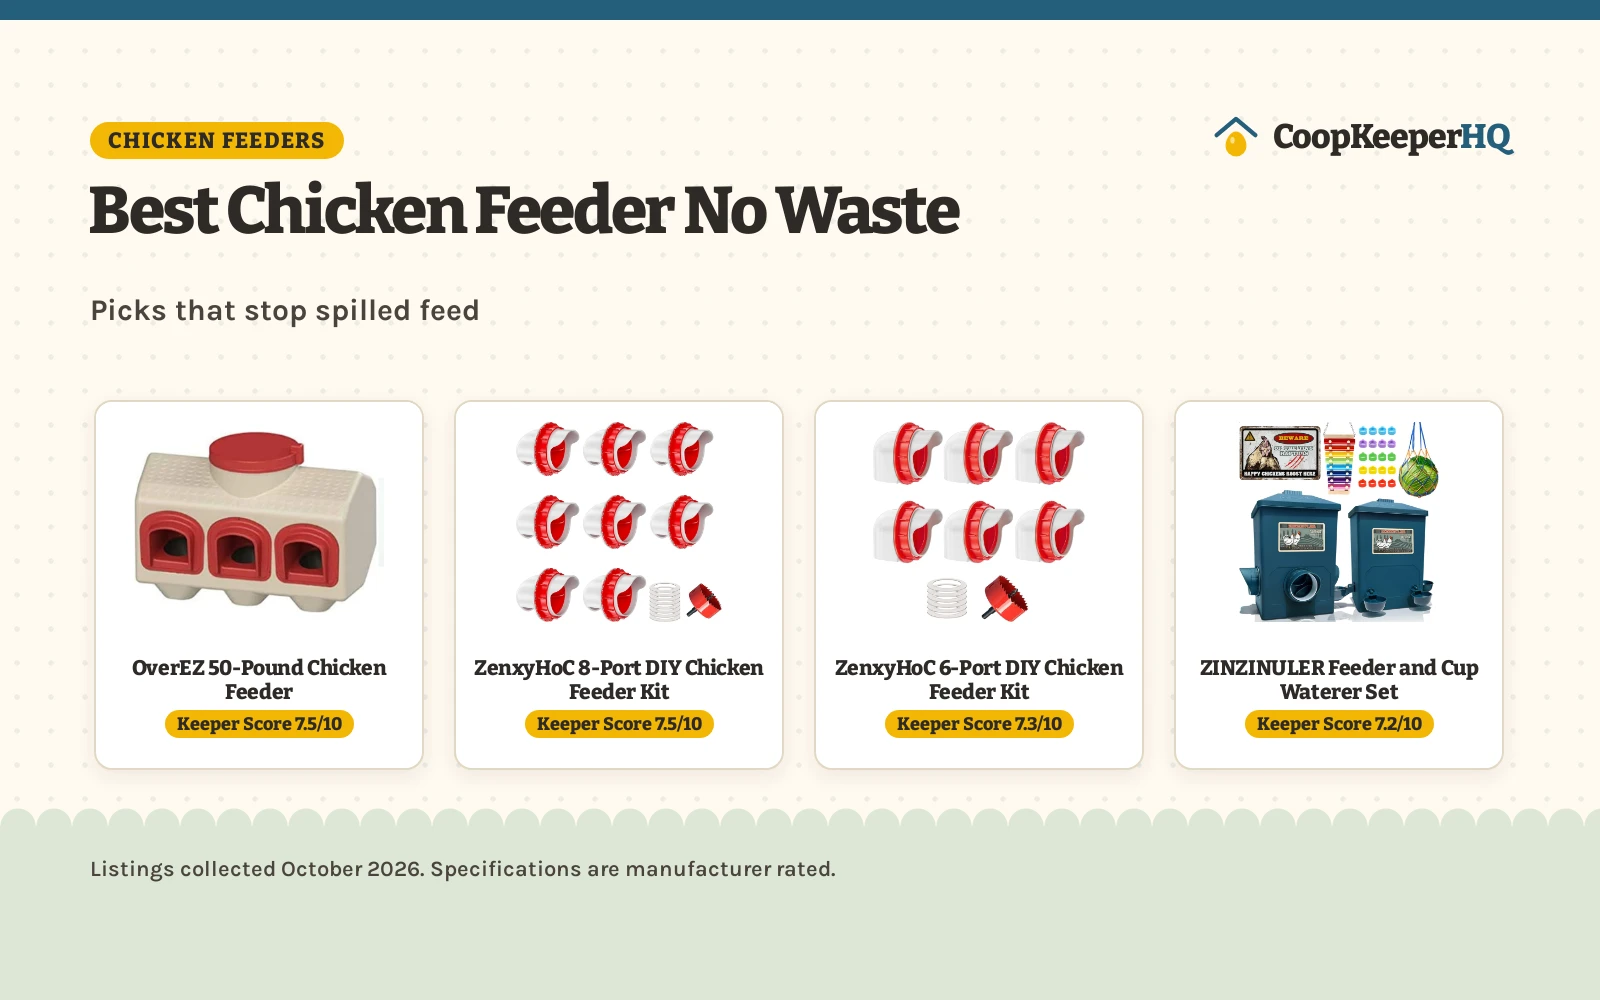
Feeder ports are available as standalone hardware fittings designed for DIY installation. GSHWXD lists DIY feeder kits featuring port inlets that extend downward by 0.8 inches into the container to help prevent uneaten feed from spilling out. Port kits typically include rubber sealing gaskets to keep moisture from creeping through the drilled seams. In commercial port designs, KARCOOL lists a 4-port layout with 16 to 18 pounds of feed capacity for small flocks, while GADFISH lists a 55-pound capacity with 8 feeding ports for larger flocks.
Tools and materials for assembling the feeder
Assembling a port feeder requires only basic workshop tools and minimal hardware. You will need your chosen bucket with its lid, port fittings with threaded collars and rubber rings, a drill and a hole saw that matches the outer diameter of the port sleeve. GSHWXD lists port kits that include a 3.15-inch (80mm) hole saw sized specifically for their fittings, which eliminates measuring errors when cutting through bucket walls.
A utility knife or sandpaper helps deburr raw plastic edges after drilling so the rubber gasket sits flush against the container wall. Keeping the cut clean ensures a weather-tight seal that blocks driving rain. If your flock feeds in an open run exposed to harsh weather, our waterproof chicken feeder guide highlights weatherproof construction details.
Step-by-step build: cutting and installing ports
Begin by marking the port locations around the lower perimeter of your container. Position each hole high enough above the bottom rim so that the port fitting clears the base and feed can sit underneath, but low enough that gravity lets feed slide naturally into reach. Space multiple ports evenly around the container to allow several birds to eat without jostling. If you place ports too close together, dominant hens may block submissive flock members from reaching the openings.
Attach the hole saw to your drill and cut through the container wall at moderate speed to avoid melting the plastic. Clean away any plastic shavings or rough burs around the hole using a knife or coarse sandpaper. Slip the rubber weather gasket over the port neck, push the port fitting through the hole from the outside, and screw the threaded lock ring tightly from the inside of the bucket. Hand tightening is usually sufficient to compress the gasket without cracking the plastic casing.
Setting the proper feeding height to stop feed tossing
Feeder height is the most critical factor in stopping feed waste. If the feeder sits directly on the ground, chickens can scratch dirt and coop bedding into the ports, or reach down at an angle that allows feed raking. Raising the feeder so the bottom edge of the port opening aligns with the shoulder height of your hens keeps the birds eating straight into the opening without raking feed backward.
For adjustable feeder stands, NEYCIL lists three height settings of 4.7 inches, 7 inches, and 9.5 inches on its adjustable legs to suit chickens as they grow. In a DIY setup, you can set the bucket on solid cinder blocks, hang it from coop rafters with strong chain, or screw wooden legs to the bucket base. Check that the container stands completely level so feed distributes evenly across all ports.
Preventing moisture, rain and rodent access
Moisture and pests represent major threats to stored poultry feed. Wet feed cakes inside ports, ferments and produces mold that can harm your flock. To keep feed dry outdoors, ensure your port fittings feature an overhanging rain hood that deflects runoff away from the entry hole. Placing the feeder inside a sheltered coop or covered run provides additional defense against storms. For exposed locations, our outdoor chicken feeder guide reviews weatherproof covers and hoods.
Rodents and wild birds quickly notice open feed stations. Port kits often provide solid plastic caps or plugs that snap over the port openings. Establish a firm dusk routine: cap the feeder ports when chickens roost at sunset, and remove the caps when opening the coop in the morning. Securing the top bucket lid with a locking clasp also prevents raccoons and squirrels from prying off the cover.
Feed selection for gravity flow systems
The texture and consistency of your poultry feed determines how reliably it flows through gravity ports. Commercial pellets and uniform crumbles flow reliably through gravity ports. Their consistent size prevents bridging, which occurs when feed compacts into a solid crust above the port inlet.
Avoid using fine powdery mash or damp fermented grains in a gravity port feeder. Fine powders absorb atmospheric moisture rapidly, creating dense clogs inside the port. If your flock receives whole grains or scratch grains, mix them with dry pellets rather than offering them loose, which can encourage selective sorting.
Cleaning schedule and routine coop care
A no waste feeder stays cleaner than an open trough, but regular sanitation remains vital for flock health. Inspect the ports during daily feeding chores to confirm no droppings, wet clumps or debris have lodged in the entryways. Every few weeks, allow the flock to empty the container completely so you can inspect the bottom for stale dust.
Wash the container, ports and lid with warm soapy water, rinse thoroughly and let every component air dry completely in the sun before refilling with fresh feed. Adding dry grain to a damp bucket creates mold pockets along the lower seam. Check the rubber sealing gaskets periodically to make sure sun exposure and temperature shifts have not dried or cracked the seals.
Troubleshooting feed flow and clogs
If chickens appear frustrated or feed stops flowing into the port basins, check for bridging inside the container. High humidity can cause feed dust to pack together above the entry elbow, creating an air pocket that stops feed from dropping. A quick tap on the side of the container normally breaks minor bridges, but persistent clogs require emptying the bucket and clearing compacted powder from the port elbows.
Another common problem is feed spillage caused by incorrect mounting height. If you notice grain scattered directly under the ports, the feeder is sitting too low, allowing hens to flick feed sideways with their beaks. Raise the bucket platform until the lower edge of the port sits level with the hens’ shoulder height. If you are comparing build costs with ready-made alternatives, our roundup of cheap chicken feeders covers affordable off-the-shelf options.
A simple DIY no waste feeder checklist
- Food-grade container has smooth walls and a tight-fitting lid
- Ports are cut cleanly with a matching hole saw and sealed with rubber gaskets
- Inlet elbows point downward inside the container to prevent feed raking
- Feeder sits raised off the ground at hen shoulder height
- Port caps are secured at night to keep rodents away
- Pellets or clean crumbles are used to ensure steady gravity flow
For flock sizing and feeding schedules, Grandpa’s Feeders lists a 20-pound capacity designed to supply 6 chickens for up to 10 days, while Tgeyd lists a 20-pound capacity with 12 feeding ports for flocks of 6 to 12 chickens. If your flock outgrows a single bucket and you prefer a high-capacity commercial hopper, see our large chicken feeder guide.
How much feed your flock eats a day and a month, how long a bag lasts, and what it costs.
Wash your hands after handling birds, eggs or equipment, supervise children around the flock, and check local rules on flock size and roosters before you buy. For sick birds, call a poultry veterinarian or your state extension office. See CDC backyard poultry guidance. Read our Safety Disclaimer.
FAQ for the flock
How high should a DIY no waste chicken feeder be off the ground?
The bottom edge of the port opening should sit level with the shoulder height of your hens. This height prevents birds from scratching bedding into the opening or sweeping feed out with their beaks. If the feeder is too low, hens can rake feed; if it is too high, shorter birds cannot reach inside.
What type of feed works best in port chicken feeders?
Commercial pellets and uniform crumbles flow best through gravity ports because their consistent size slides down without sticking. Fine powdery mash and damp feeds tend to bridge, cake and block the downward opening, especially during humid weather.
Do port chicken feeders stop mice and rats?
Port feeders reduce rodent attraction by preventing spilled grain from accumulating on the ground. However, mice and rats can enter open ports if left accessible overnight. Always snap solid port caps over the openings at dusk or store the feeder in a rodent-proof enclosure overnight.
Can baby chicks use a DIY port feeder?
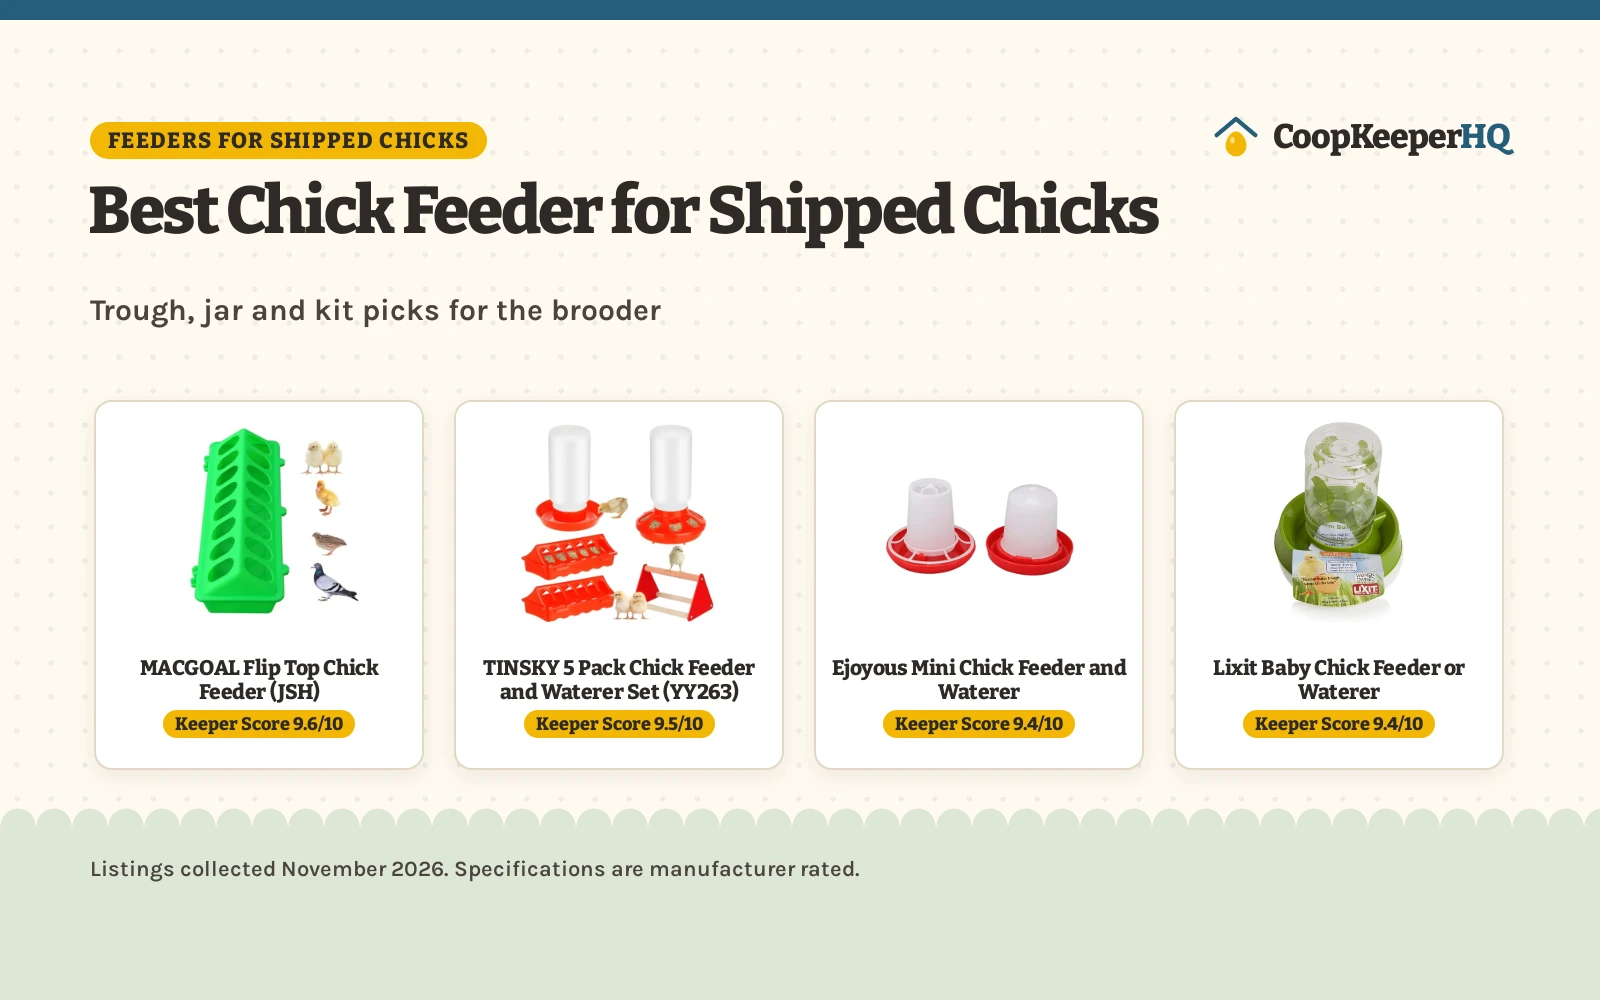
Standard port fittings are sized for adult chickens and older pullets. Young chicks cannot reach into the port opening and may become stuck if they attempt to squeeze inside. Use dedicated chick feeders until your birds reach full size.
How many ports do I need for my flock?
Allow multiple access points so subordinate birds can feed without conflict. A container with ports spaced around the sides allows several hens to eat at the same time without crowding or competition.
More coop guides
- Best Chicken Feeder No Waste: Picks That Save Feed
- Best Outdoor Chicken Feeder (2026): 5 Weatherproof Picks
- Best Type of Chicken Feeder: 5 Backyard Picks (2026)
See the feeders and waterers picks and the coop supply guides.