How to Hatch Quail in an Incubator: Step-by-Step Guide
A step-by-step guide to hatching quail in an incubator, covering temperature stability, humidity management, turning schedules and lockdown care.

On this page
Top picks at a glance
As an Amazon Associate I earn from qualifying purchases.
- 1
 DEZHXHE 32-egg quail incubator9.6/10View on Amazon
- 2
 ONKO 40 Quail Egg Incubator with Automatic Turner and Top9.5/10View on Amazon
- 3
 ONKO 40 Egg Quail Incubator with Automatic Turner and9.4/10View on Amazon
- 4
 VEVOR 36 Egg IncubatorView on Amazon
- 5Quail Egg Incubator for Hatching 40 Quail Eggs with AutomaticView on Amazon
- 6
 Sailnovo 70 Egg IncubatorsView on Amazon
- 7
 30 Egg Incubator for Hatching Eggs with Auto Egg TurningView on Amazon
- 8
 32 Egg Incubator for Hatching EggsView on Amazon
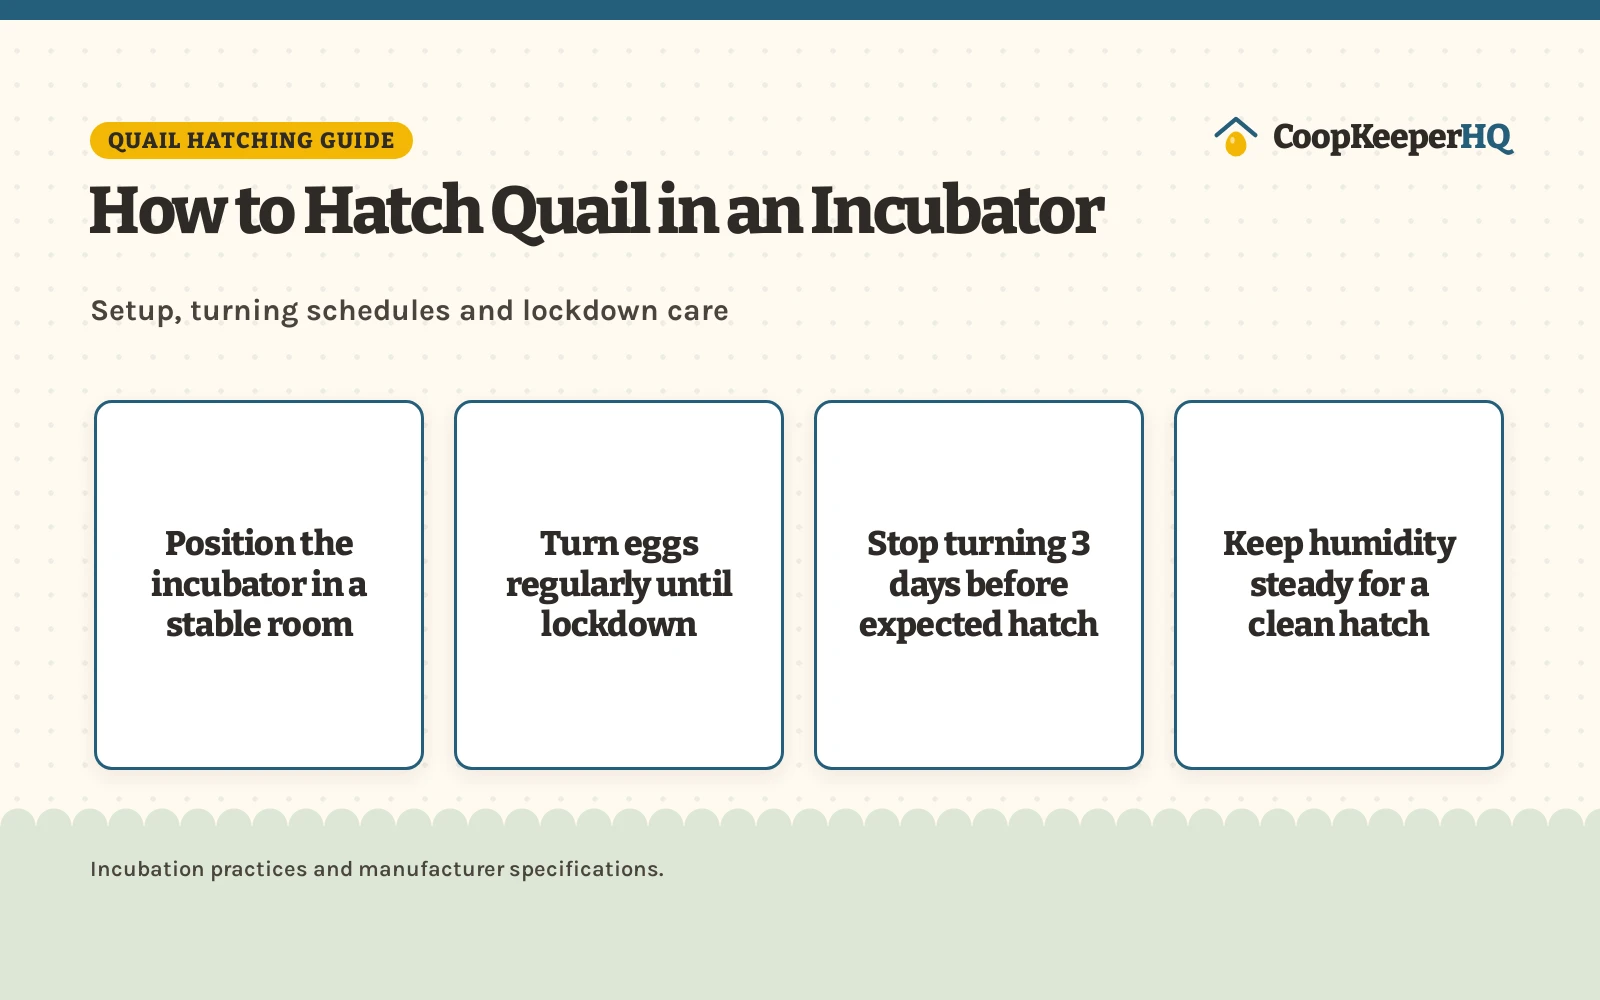
To hatch quail in an incubator, place the machine in a draft-free room, maintain steady warmth and moisture, turn eggs regularly through early incubation, and stop turning for a quiet lockdown period before hatching begins. Quail eggs require consistent conditions, gentle rotation and elevated humidity during the final days so chicks can break free from the shell. Once dry, newly hatched chicks move directly into a warm brooder with clean bedding, starter feed and fresh water.
Other options for the coop
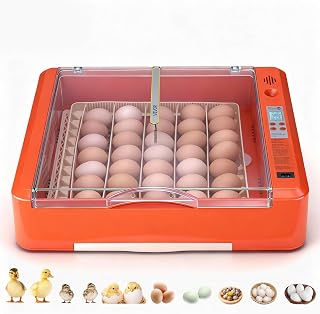 VEVOR 36 Egg IncubatorCheck price on Amazon
 Quail Egg Incubator for Hatching 40 Quail Eggs with AutomaticCheck price on Amazon
 Sailnovo 70 Egg IncubatorsCheck price on Amazon
 30 Egg Incubator for Hatching Eggs with Auto Egg TurningCheck price on Amazon
 32 Quail Egg Incubator for Hatching EggsCheck price on Amazon
 32 Egg Incubator for Hatching EggsCheck price on Amazon
CoopKeeperHQ earns a commission if you buy through our links, at no added cost to you. Affiliate disclosure.
How to hatch quail in an incubator: start with a stable setup
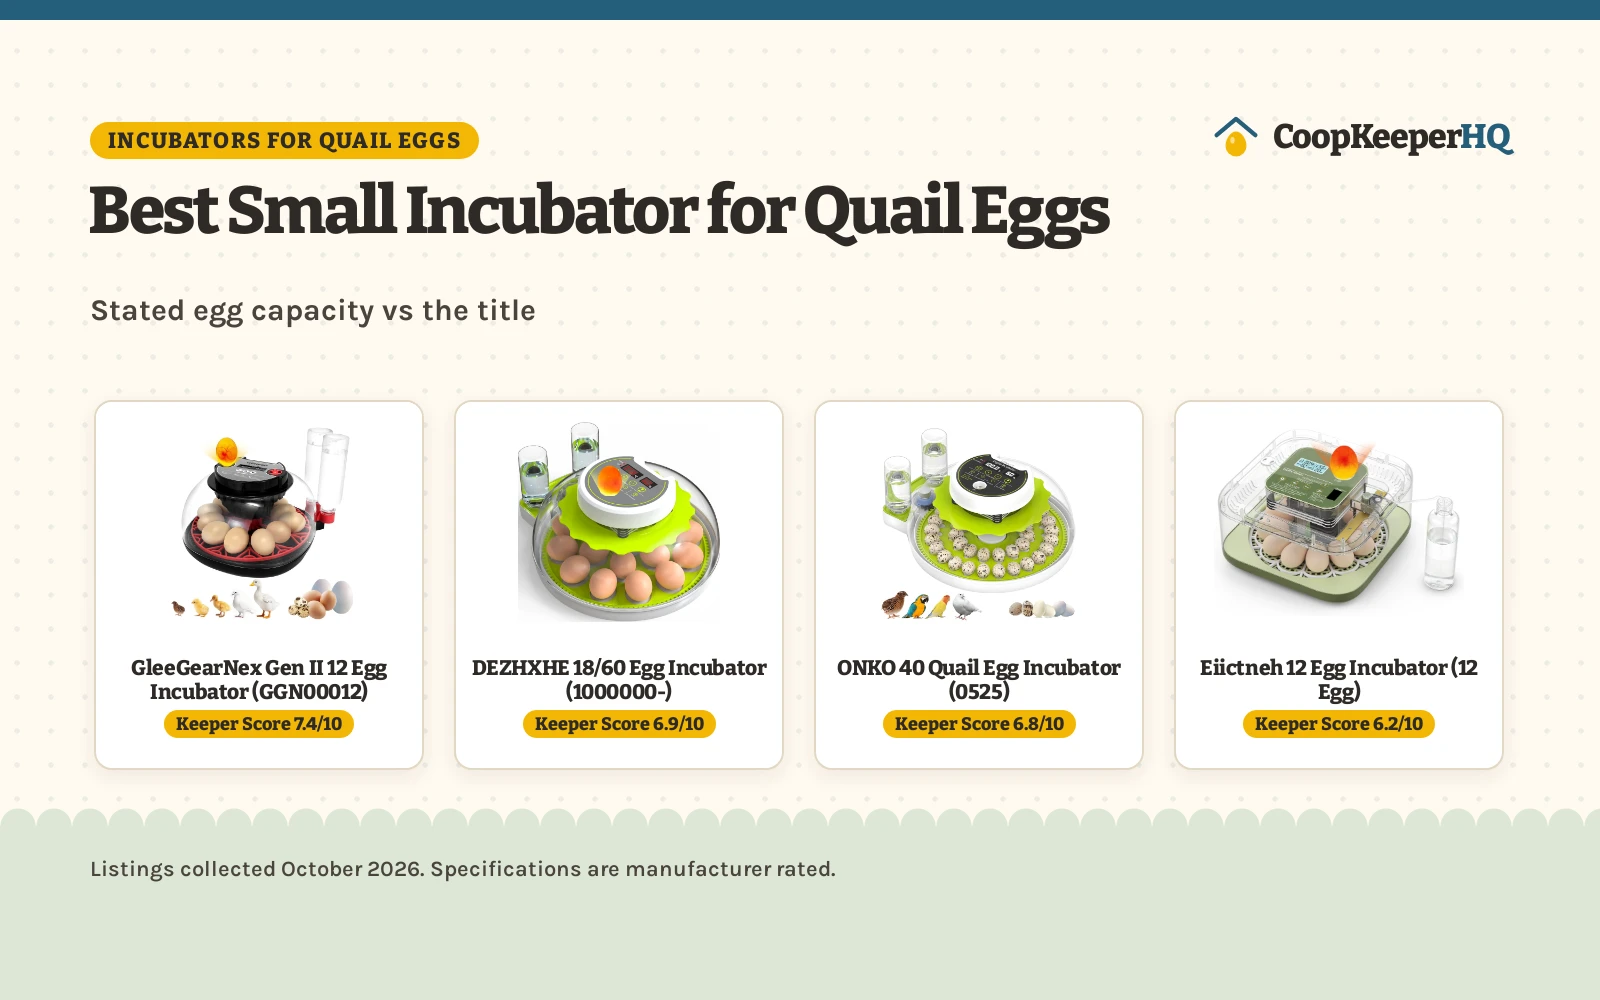
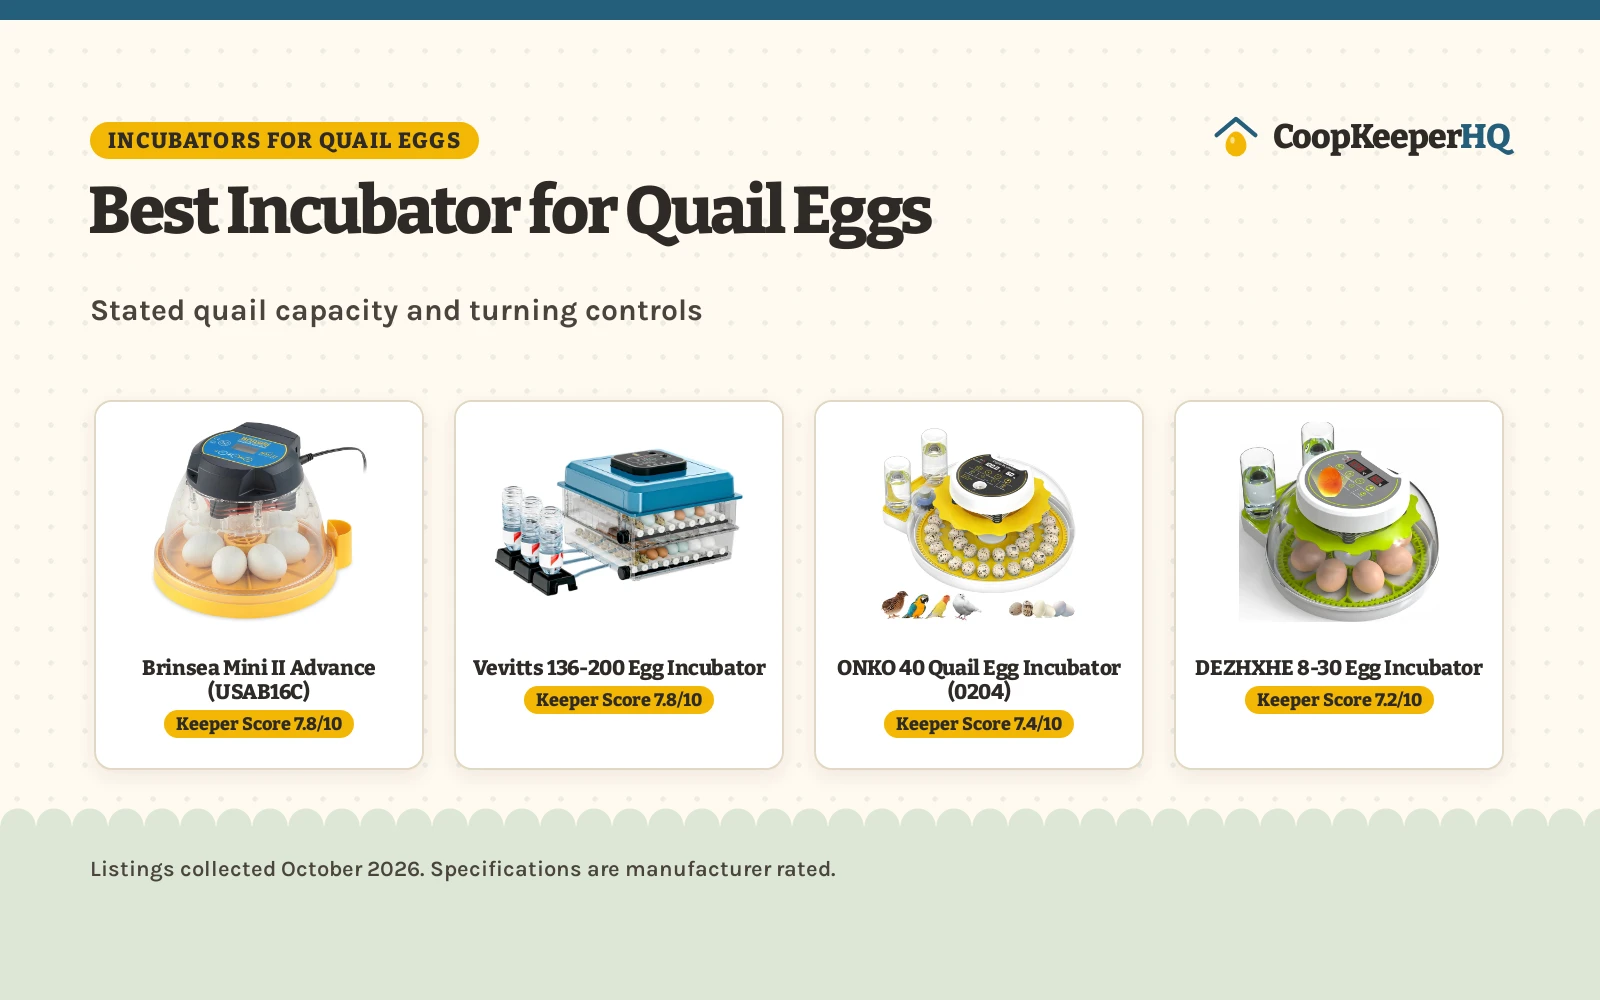
Hatching quail begins with preparing the incubator before eggs arrive. Small quail eggs have thin shells and lose moisture quickly if chamber conditions fluctuate. Choosing an incubator with an automatic turner keeps internal warmth stable because you do not need to open the lid to turn eggs. Capacity choices depend on your flock goals, and manufacturer ratings often specify standard eggs or quail eggs. WONEGG lists a manufacturer-rated 12 egg incubator measuring 10.24 x 10.24 x 5.5 inches at 3.3 pounds, ONKO publishes models holding 40 quail eggs measuring 10.2 x 10.5 x 4 inches at 4.2 pounds, and Sailnovo lists a 70 egg incubator measuring 23.2 x 16.3 x 7.1 inches with an 85W heater. Set the machine on a level, draft-free surface away from direct sunlight, and run it empty ahead of time to confirm the heating element and circulation fan operate smoothly.
Set temperature and humidity controls
Steady warmth is vital for quail embryo development. Modern incubators use digital sensors and internal circulation fans to distribute heat evenly across the tray. VEVOR notes that temperature fluctuations of 0.9°F are normal during incubation in its 36 egg incubator, which measures 20.87 x 7.09 x 19.29 inches and weighs 8.05 pounds. In cool rooms, VEVOR and Sailnovo note that fitted styrofoam packaging or covers can be placed over the chassis to retain warmth.
Humidity controls how moisture evaporates through the egg pores. Selecting a model from our incubator with humidity control guide helps manage moisture. Keep humidity moderate during early incubation so the internal air cell expands properly. External reservoirs prevent temperature drops during refills. ONKO equips its incubators with external water bottles, noting that water levels on its model only need topping up 1-2 times across the incubation cycle. ONKO and DEZHXHE also feature adjustable air vents on the top cover to fine-tune airflow and humidity.
Place and turn the eggs
Fertile quail eggs must be turned regularly during early incubation to keep embryos from sticking to the inner shell membrane. Automatic turners replicate natural hen behavior without releasing warm chamber air. ONKO, Sailnovo and WONEGG list automatic turners that rotate eggs every 2 hours, while DEZHXHE and DETODDA state that their mechanisms turn eggs every 120 minutes.
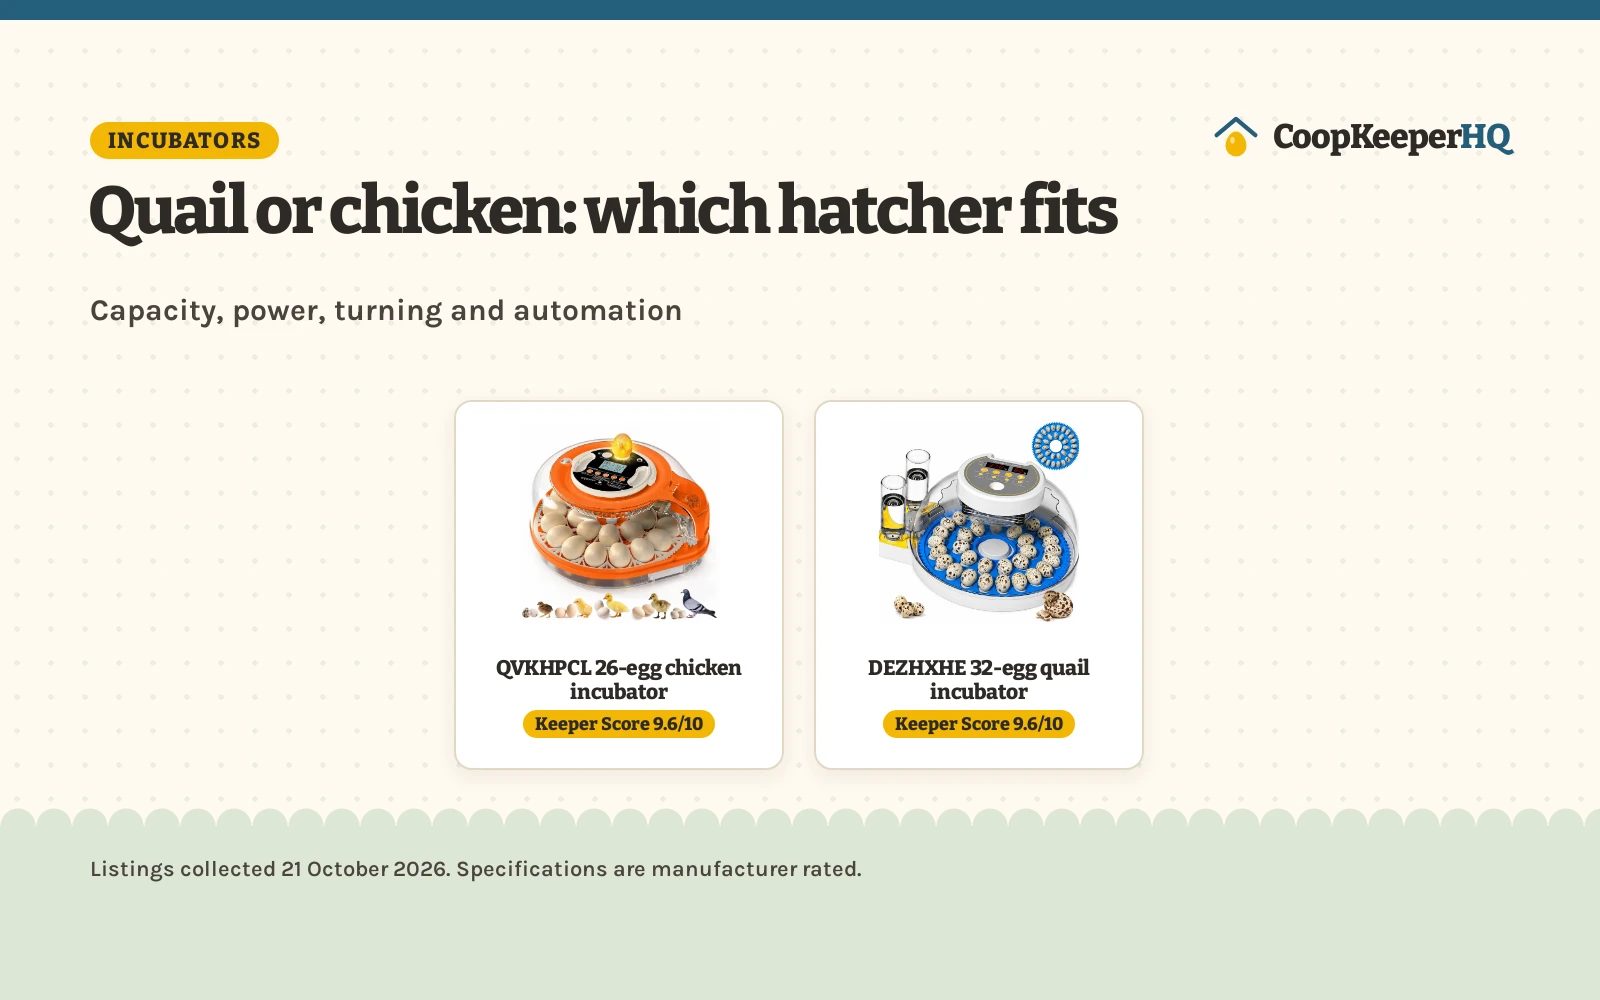
Quail eggs need small cups or dedicated trays so they do not tip. DEZHXHE includes 2 removable egg trays: 1 standard egg tray and 1 bird egg tray, holding 30 quail eggs or 8 chicken eggs. Place eggs with the pointed end facing down and the blunt air-cell end facing upward. If your incubator uses horizontal rollers, lay the eggs flat with enough clearance to roll freely.
Monitor water levels and ventilation
Embryos consume oxygen and release moisture and carbon dioxide through shell pores, so ventilation is essential. Never completely seal incubator vents. Developing embryos require fresh air exchange, but opening vents too wide allows humidity to escape into the room. Keep vents adjusted to maintain adequate fresh air while preserving chamber moisture. Opening vents wider reduces excess humidity, while restricting vent openings helps retain humidity.
Adding water through external ports prevents temperature drops. ONKO uses two externally mounted water bottles for automatic water replenishment, while DETODDA uses an automatic water pump and a sponge base layer to distribute moisture. In exceptionally dry ambient conditions, ONKO includes an absorbent sponge for the base tray to increase humidity. Always use lukewarm water when refilling to avoid chilling the incubator floor.
Candle eggs during incubation
Candling uses a bright beam of light to inspect embryo development through the shell. Using an egg candler allows you to remove clear infertile eggs and early development stops before they spoil. ONKO, Sailnovo, WONEGG, DEZHXHE and DETODDA all feature built-in LED candlers. Quail shells are speckled, but you can identify fertile development by looking for dark blood vessels and an expanding embryo against the illuminated shell. Infertile eggs remain clear. If you are unsure about an egg, leave it in place and inspect it again after several days.
Should you use a backup power source?
A prolonged power outage can cool the incubator and endanger developing embryos. Incubators with dual power inputs provide valuable protection. VEVOR supports 110V household power and allows a manual switch to a 12V battery power source during an outage. DEZHXHE also includes a dual power system switching manually to a 12V battery, recommending a battery capacity above 50AH. Alternatively, connecting your incubator to an uninterruptible power supply or household generator keeps heating elements and fans running during unexpected blackouts.
Enter lockdown and prepare for the hatch
Lockdown is the final incubation phase when egg turning stops and humidity increases for hatching. Opening the incubator during lockdown releases humidity and dries out inner membranes, which can trap chicks inside their shells. Manufacturers specify timelines for transitioning into lockdown based on expected hatch dates: Sailnovo and WONEGG specify stopping egg turning 3 days before the expected hatch date, while ONKO notes that on day 14, the egg tray can be removed to prevent further turning on its unit. Disconnect the turning motor or remove the tray, as DETODDA allows via an external USB cable. Lay the eggs on the flat hatching floor and increase humidity by adding water to the reservoirs. Once chicks pip and emerge, keep the lid closed until they fluff up and dry. Move dry chicks to a brooder with a brooder heat plate and a clean chick waterer.
Mind the electrics and incubator stability
Because incubators operate continuously for weeks, run cords safely away from foot traffic and plug into a stable outlet. Transparent ABS shells, used on models from ONKO and Sailnovo, allow 360 degree observation without lifting the lid. Unplug the machine before cleaning after each hatch. ONKO notes that the removable tray and base can be rinsed directly under water, while electronic components in the top cover should be wiped clean with a damp cloth. Sanitizing gear between hatches prevents bacterial contamination from affecting future clutches.
Daily rhythm during incubation
A simple daily routine keeps incubation on track. Check the incubator morning and evening through the viewing window to confirm temperature displays match expectations and fans circulate air. Check water bottles and replenish external reservoirs without lifting the lid. Verify that turners cycle normally, and check day counters on models like Sailnovo and DETODDA. Listen for alert alarms, which ONKO and Sailnovo include to signal temperature or humidity drift. If persistent development problems occur, contact a poultry specialist or your state university extension office.
A simple quail hatching checklist
- Incubator is set on a level surface away from drafts and direct sun
- Machine is run empty ahead of time to confirm temperature and fan function
- Eggs are set pointed end down in cups or laid flat on rollers
- Automatic turning runs until lockdown begins
- Water levels are monitored daily and replenished through external ports
- Turning stops on lockdown and eggs rest on the flat hatching floor
- Humidity is increased for lockdown so membranes stay moist
- Chicks remain inside until dry before moving to a brooder
For housing birds once they leave the brooder, review our quail coop size guide and our guide to quail cage size requirements.
Pick a species and a set date for candling days, lockdown and hatch day, with a calendar file to save.
Run the incubator for a day before you set eggs to confirm temperature and humidity, keep it away from direct sun and drafts, and plug it into a protected outlet. Plan the brooder before hatch day. Wash your hands after handling eggs and chicks. See CDC backyard poultry guidance. Read our Safety Disclaimer.
FAQ for the flock
How long do quail eggs take to hatch in an incubator?
Incubation duration varies by quail species and incubator stability. Manufacturers like Sailnovo and WONEGG specify stopping egg turning 3 days before the expected hatch date when lockdown begins, while ONKO notes day 14 for removing the tray on its unit. Because incubation timelines differ across quail breeds, consult your hatching egg supplier or state extension service for your specific breed schedule.
Do quail eggs need to be turned every day?
Yes, quail eggs require regular rotation during early incubation so embryos do not stick to inner membranes. Units from ONKO, Sailnovo and WONEGG turn eggs automatically every 2 hours, and models from DEZHXHE and DETODDA similarly rotate every 120 minutes. Turning ceases completely during lockdown.
When should I stop turning quail eggs in the incubator?
Stop turning when entering lockdown so chicks can orient toward the air cell. Sailnovo and WONEGG specify that egg turning stops 3 days before the expected hatch date, while ONKO notes removing the turning tray on day 14 for its unit.
Can I open the incubator while quail chicks are hatching?
Avoid opening the incubator during active hatching. Opening the lid vents humidity, causing shell membranes to shrink-wrap and trap emerging chicks. Keep the lid shut until chicks dry thoroughly.
What incubator capacity is best for hatching quail?
Capacity depends on your flock goals. Manufacturer-rated numbers often distinguish between standard poultry eggs and smaller quail eggs. For example, DEZHXHE states its unit holds 30 quail eggs compared to 8 chicken eggs, and ONKO publishes a capacity of 40 quail eggs. Multi-species incubators like WONEGG list a manufacturer-rated capacity of 12 eggs, while larger designs like Sailnovo list up to 70 eggs.
More coop guides
- Chicken Egg Incubator with Humidity Control: 5 Top Picks Compared (2026)
- Best Egg Incubator with Automatic Turner (2026)
- Best Brooder Heat Plate: Safer Heat for Chicks
See the incubators and hatching picks and the ducks, quail and turkeys guides.