Collecting Eggs for Incubation: Step-by-Step Guide for Backyard Flocks
Clean nest boxes, prompt gathering, cool storage, daily turning and careful selection ensure strong hatchability for backyard hatching eggs.

On this page
Top picks at a glance
As an Amazon Associate I earn from qualifying purchases.
- 1
 Homaisson 15-Pocket Canvas Egg Collecting Apron for Chicken9.5/10View on Amazon
- 2
 Cutecrop 2 Pcs Egg Collecting Apron and Basket9.5/10View on Amazon
- 3
 Hossmily 2 Pack Egg Collecting Apron9.4/10View on Amazon
- 4
 Egg Basket for Gathering Fresh EggsView on Amazon
- 5
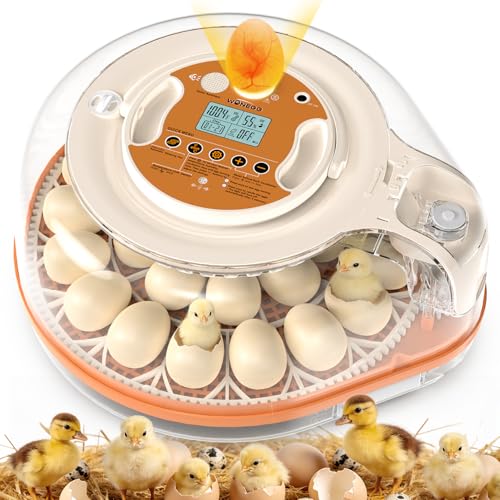 Incubators for Hatching Eggs with Smart Voice AssistantView on Amazon
- 6
 Egg Incubators for Hatching EggsView on Amazon
- 7
 Egg Incubator for Hatching EggsView on Amazon
- 8
 Sailnovo 18 Eggs Incubators for Hatching Egg with Auto WaterView on Amazon
- 9
 Egg Incubator for Hatching 120 Eggs with 5 Auto IncubationView on Amazon
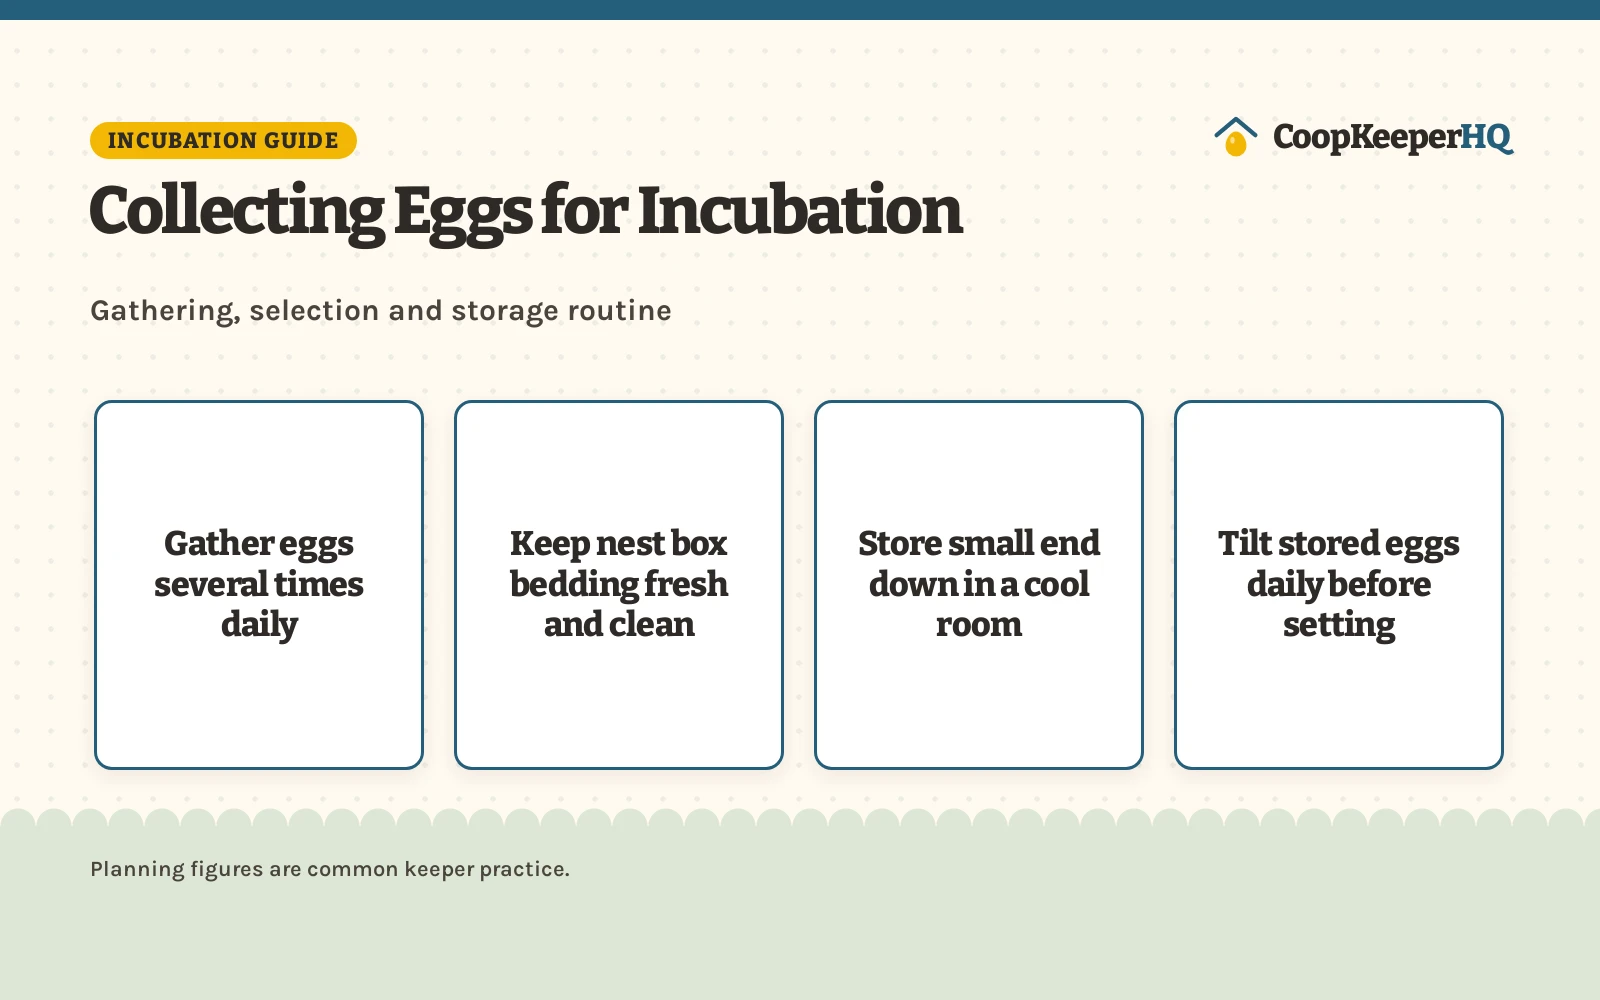
Walking out to the coop with an empty basket in the morning is part of every keeper’s routine, but gathering a clutch for the hatcher requires extra care. Collecting eggs for incubation means gathering clean, sound eggs several times throughout the day, storing them small end down in a cool room, tilting them daily and setting them into a stable incubator without washing away the protective shell bloom.
Other options for the coop
 Egg Basket for Gathering Fresh EggsCheck price on Amazon
 Incubators for Hatching Eggs with Smart Voice AssistantCheck price on Amazon
 Egg Incubators for Hatching EggsCheck price on Amazon
 Egg Incubator for Hatching EggsCheck price on Amazon
 Sailnovo 18 Eggs Incubators for Hatching Egg with Auto WaterCheck price on Amazon
 Egg Incubator for Hatching 120 Eggs with 5 Auto IncubationCheck price on Amazon
CoopKeeperHQ earns a commission if you buy through our links, at no added cost to you. Affiliate disclosure.
Collecting eggs for incubation: start with clean nest boxes
Clean hatching eggs begin long before a hen lays. Keeping nesting boxes filled with dry, fresh shavings or clean nest liners helps prevent mud, broken yolk and droppings from coating fresh shells. Replace damp bedding promptly, scoop droppings out every morning and ensure hens do not roost in the boxes overnight. Installing clean nest pads cushions the fall as eggs are laid, reducing hairline fractures that can ruin incubation before it begins. If your current boxes are broken or difficult to scrub down, our nesting box guide covers sturdy roll-away and wooden designs that keep eggs separated from coop dirt.
Gather eggs frequently to protect embryo viability
Leaving eggs in nesting boxes invites trouble. Broody hens may sit on them, which can begin embryonic development prematurely, while other hens may step on them, soil them or peck at shells. During freezing winter weather, eggs left in the coop can freeze and crack, while hot summer afternoons can degrade embryo viability before you ever bring the clutch indoors. Visit the coop several times throughout the day to gather newly laid eggs promptly.
Gentle handling during collection prevents microscopic shell cracks. Backyard keepers select collection containers to suit their daily routine and flock size. In individual pouch designs, the XLSXEXCL listing states a canvas bag with 7 individual deep pockets designed to carry at least 7 eggs safely. Similarly, the UKJENT listing describes a canvas gathering bag with 7 deep pouches measuring 2.95 inches deep, featuring a 0.2-inch thick felt pad and a 9.06-inch handle. For open basket designs, the ZSHLXM listing specifies a wood and wire basket rated to hold 18 to 24 eggs, and the LINCOUNTRY listing describes a round metal wire basket measuring 7.75 inches in diameter by 5 inches in height that also states an 18 to 24 egg capacity. For larger capacity options, the FNXAOR listing includes a 6.5-inch basket holding up to 30 eggs alongside a 7.5-inch basket holding up to 40 eggs, while the Goaste listing includes a small basket measuring 6.5 inches in diameter by 5.7 inches in height holding 20 to 25 eggs and a large basket measuring 9.05 inches in diameter by 6.7 inches in height holding 65 to 70 eggs. The Demigo listing specifies a 3-divider basket holding up to 60 eggs across 3 sections measuring 15.7 by 7.9 by 6.3 inches, and the Zubebe listing describes a basket and spiral rack set where each holder stores about 3 dozen eggs for 72 eggs in total. Our egg baskets guide compares gathering carriers for daily coop chores.
Selecting the right hatching eggs
Not every egg gathered from the nesting box belongs in an incubator. Inspect each egg carefully before setting aside your hatching clutch. Select medium to standard-sized eggs with uniform proportions and normal shell texture. Extremely large eggs frequently contain double yolks that rarely hatch successfully, while unusually small pullet eggs may lack the nutrient reserves needed to sustain a developing chick through to hatch day.
Examine shell quality thoroughly. Discard eggs showing rough calcium ridges, thin translucent patches, irregular shapes, chalky surfaces or visible fractures. A sound, strong shell allows proper gas exchange while retaining essential moisture. Inspecting eggs with an egg candler in a dark room illuminates microscopic shell fissures and internal defects that are invisible to the naked eye. Setting only prime, structurally sound eggs gives your hatch the strongest starting point.
Do not wash hatching eggs
A fresh egg emerges from the hen with a natural protective coating called the bloom or cuticle. This invisible layer coats and protects the microscopic pores across the shell surface, helping block bacteria, mold spores and ambient dirt from invading the egg interior. Washing eggs in water, rinsing them under a faucet or wiping them with wet sponges can dissolve this protective bloom. Moisture can also pull surface bacteria directly through shell pores, which risks contaminating the yolk and reducing embryo viability.
Keep your hatching eggs dry. If an otherwise excellent egg has a minor dry speck of dirt or wood shavings clinging to the shell, gently buff it away using a dry cloth or a dry abrasive pad without scouring the shell surface. Eggs with heavy manure smears, cracked shells or leaking yolk from a broken neighbor egg should be discarded entirely. If you want to know more about dry cleaning methods for table eggs versus hatching stock, see our guide on how to clean fresh eggs without removing the bloom.
Storing hatching eggs before incubation
Rarely does a keeper gather an entire incubator load during morning chores. Storing eggs properly holds embryonic development in a state of suspended animation until the entire batch is ready to be set together. Storage conditions directly govern hatchability, and small mistakes can quietly ruin a hatch before incubation starts.
Position stored eggs with the pointed small end facing downward and the blunt large end facing upward. The internal air cell rests at the blunt end, and storing eggs small end down keeps that air cell upright and stable while keeping the yolk centered. Keep stored cartons in a cool, dark room well below incubator warmth but safely above freezing. Avoid household refrigerators, which run too cold and pull moisture out of the shells. Maintain moderate humidity in the holding room so the eggs do not dry out, and see our guide on how long fresh eggs keep for details on temperature management.
Tilt stored eggs daily while waiting to fill your incubator. When an egg sits stationary, the yolk slowly drifts upward and can adhere to the inner shell membrane, risking damage to the blastoderm. Propping an edge of your storage carton up and alternating sides morning and evening tilts the eggs enough to keep the yolk floating freely in the albumen. Plan to set your eggs promptly, as hatchability begins to drop steadily after eggs sit in storage for prolonged periods.
Preparing the incubator and setting the clutch
Before loading your gathered clutch, prepare the hatching equipment thoroughly. Sanitize the incubator walls and trays, plug the unit in and allow it to run empty to verify steady operating temperature and humidity levels. Our guide to incubators for chicken eggs reviews dependable models for home hatches, while our review of automatic egg turners covers trays that turn eggs around the clock. Monitoring conditions with a dedicated incubator thermometer hygrometer confirms that internal readings match the digital display before you commit your eggs.
Remove your stored hatching eggs from the cool holding area and let them warm up gradually to room temperature before placing them inside the warm incubator. Putting cold eggs directly into a heated, humid incubator can cause condensation to bead across the shell surface, which creates moisture that risks drawing surface microbes into open pores. When the eggs reach room temperature, place them gently on the incubator racks with the pointed small end downward, or flat on their sides depending on your incubator tray design, and close the incubator.
A simple egg collection checklist
- Nest boxes fluffed with clean, dry bedding or fresh pads
- Coop checked multiple times daily for newly laid eggs
- Gathered eggs handled gently in padded or separated baskets
- Misshapen, cracked, thin-shelled and dirty eggs removed
- Dry buffing used for minor spots without washing with water
- Eggs placed small end down in cartons in a cool room
- Cartons tilted daily from side to side until incubation day
- Eggs warmed to room temperature before setting in a running incubator
Pick a species and a set date for candling days, lockdown and hatch day, with a calendar file to save.
Wash your hands after handling birds, eggs or equipment, supervise children around the flock, and check local rules on flock size and roosters before you buy. For sick birds, call a poultry veterinarian or your state extension office. See CDC backyard poultry guidance. Read our Safety Disclaimer.
FAQ for the flock
How often should you collect eggs for incubation?
Gather hatching eggs multiple times throughout the day. Frequent collection helps keep eggs clean, discourages broody hens from warming eggs prematurely and protects shells from freezing morning cold and excessive afternoon heat.
Can you wash eggs before putting them in an incubator?
Do not wash hatching eggs with water. Washing can strip away the natural protective bloom and risk drawing surface bacteria through shell pores into the egg. Select clean eggs from well-bedded boxes and dry buff minor spots with a clean cloth.
Which end goes down when storing hatching eggs?
Store hatching eggs with the pointed small end down and the blunt large end up. The natural air cell sits at the blunt end, and storing eggs small end down keeps the air cell positioned properly and keeps the yolk centered.
Why do you turn eggs before incubation?
Tilting stored eggs daily prevents the buoyant yolk from settling against the inner shell membrane. Propping an edge of an egg carton up and alternating sides morning and evening helps keep the embryo centered in the protective albumen.
How long can you store eggs before putting them in the incubator?
Hatching eggs should be set into the incubator as promptly as possible. Hatchability drops steadily the longer eggs sit in holding, so gather your batch over a short window and start incubation without extended delays.
More coop guides
- How to Clean Fresh Eggs Without Washing Away the Bloom
- Best Incubator for Chicken Eggs: Hatch Picks by Size
- Egg Baskets for Fresh Eggs: 5 Top Picks for Backyard Flocks (2026)
See the egg handling picks and the incubators and hatching guides.