Incubation for Duck Eggs: Step-by-Step Guide for Backyard Flocks
A step-by-step guide to incubation for duck eggs, covering clean shell preparation, temperature regulation, humidity adjustments and lockdown for a dependable hatch.

On this page
Top picks at a glance
As an Amazon Associate I earn from qualifying purchases.
- 1
 Egg Incubators for Hatching Eggs9.7/10View on Amazon
- 2
 Incubators for Hatching Eggs9.6/10View on Amazon
- 3
 Dural's DX5®9.6/10View on Amazon
Collecting a clutch of fresh duck eggs from clean nest straw on a brisk morning is a rewarding chore on any homestead. Hatching those eggs yourself takes patience and attentive care, because waterfowl eggs have thicker shells, distinct wax cuticles and different moisture dynamics than chicken eggs. Successful incubation for duck eggs requires steady chamber heat, consistent humidity, regular egg rotation and a calm lockdown period before hatch.
CoopKeeperHQ earns a commission if you buy through our links, at no added cost to you. Affiliate disclosure.
Incubation for duck eggs: shell selection and preparation
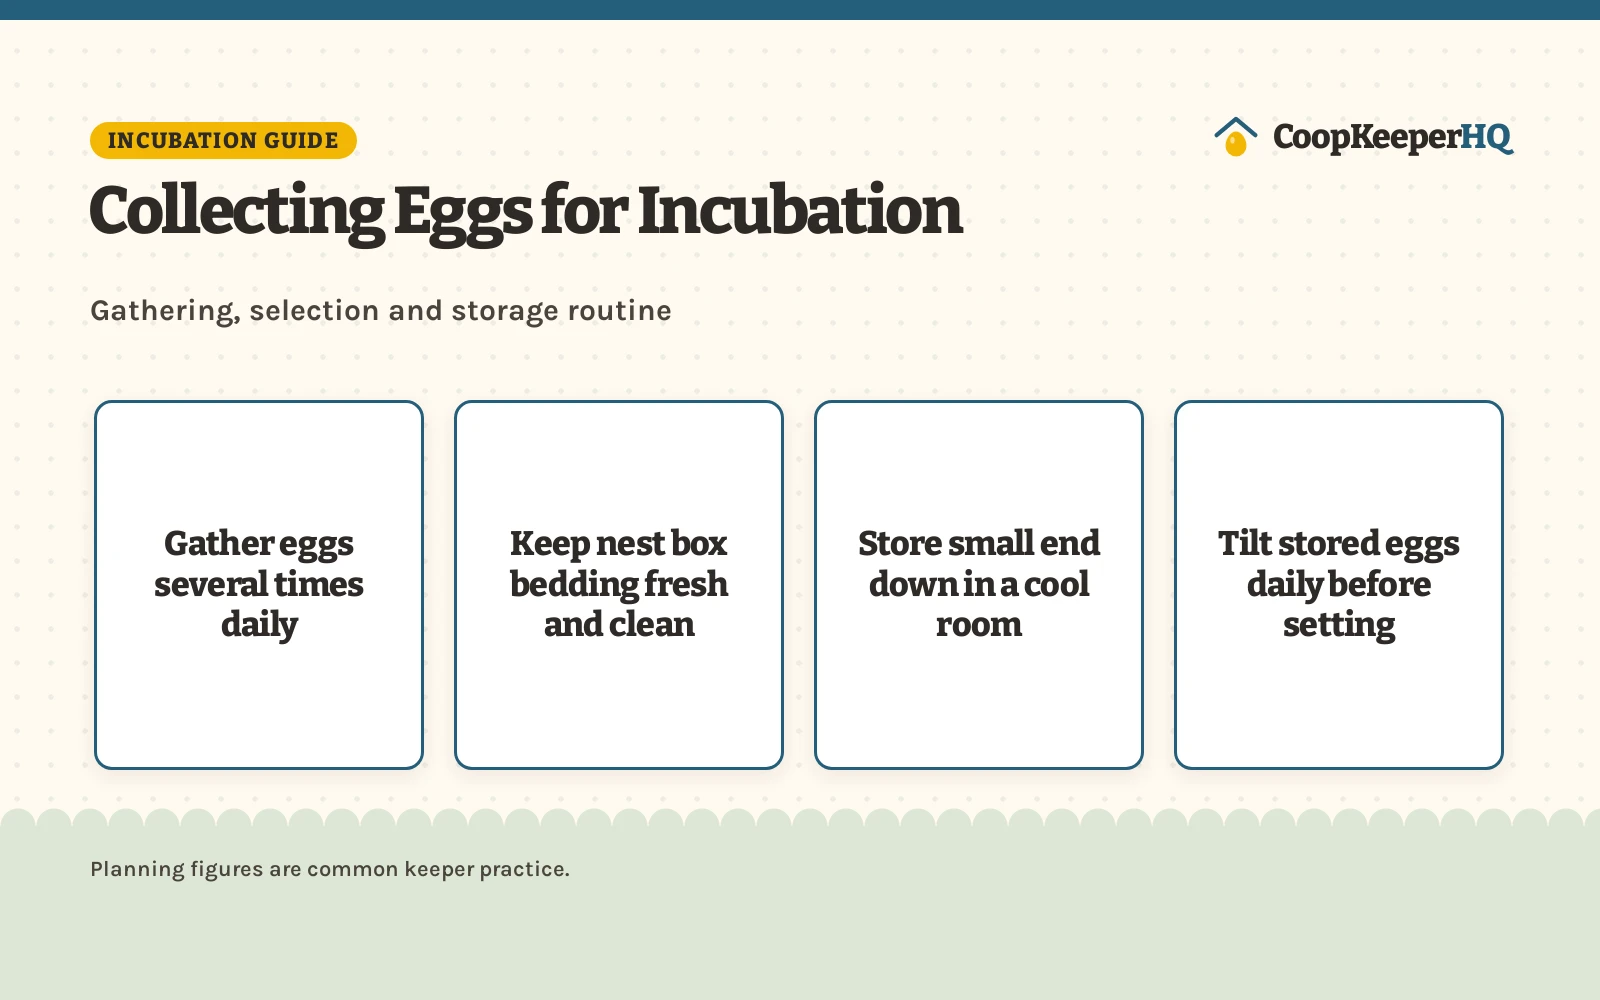
A dependable hatch begins long before turning on the machine. Gather eggs daily from clean nest boxes so shells remain clean and dry. Inspect each egg under bright light to check for hairline fractures, thin spots or structural deformities. Duck shells are naturally coated with a protective bloom that seals microscopic pores against bacteria, so avoid cleaning eggs with water or damp sponges. Set aside misshapen, cracked or excessively soiled eggs, as contaminated shells can introduce bacteria into the warm chamber and spoil neighboring embryos.
Because duck eggs are significantly larger than standard chicken eggs, tray capacity and spacing require planning. For example, DEZHXHE lists an incubator holding 8 chicken eggs or 30 quail eggs, while Holdwell S lists compact models rated for 20 eggs or 24 eggs. When selecting a machine for waterfowl, choose an incubator for large eggs that provides sufficient vertical clearance and wider row spacing. If you store eggs for several days while accumulating a hatch batch, keep them in a clean carton in a cool room, resting with the large blunt end tilted upward.
Maintain steady incubation temperature
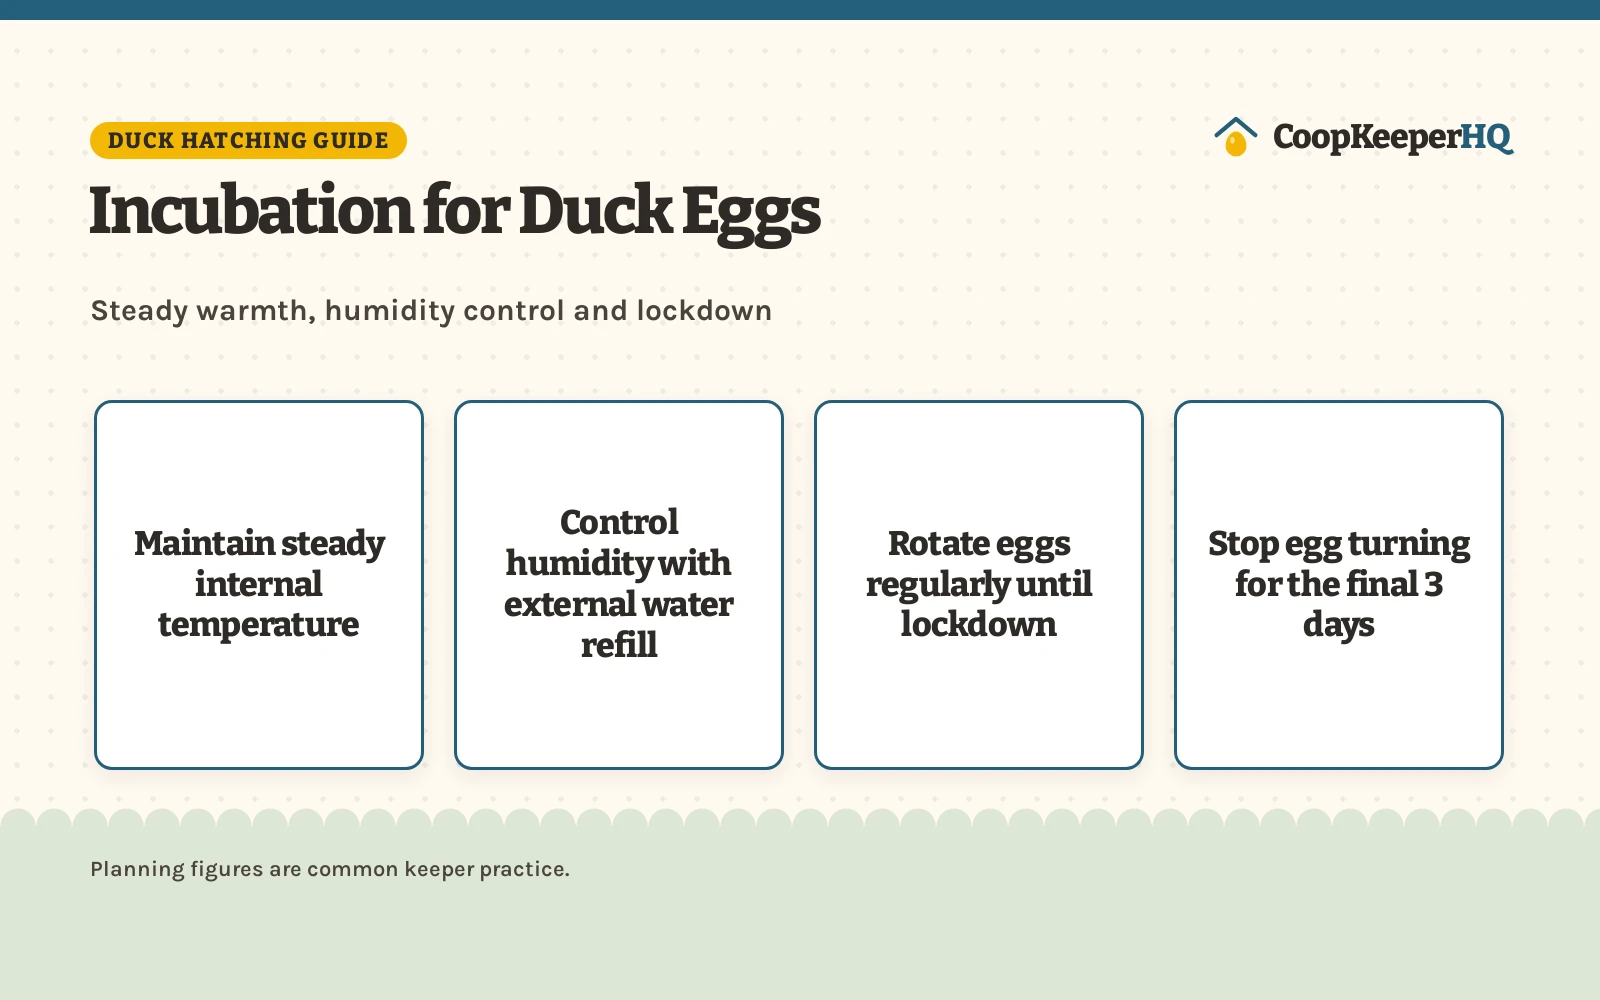
Steady internal temperature is the most critical variable during embryonic development. Waterfowl embryos generate their own metabolic warmth during late development, making uniform air circulation essential to prevent hot spots. Incubators equipped with circulating turbine fans distribute air continuously across the chamber to keep temperatures consistent from edge to center.
Digital controllers allow keepers to regulate chamber heat to target incubation temperatures. For instance, GleeGearNex Gen IV specifies an adjustable temperature range of 68 to 104 degrees Fahrenheit (20 to 40 degrees Celsius) with circulating airflow. The maker also specifies acceptable ambient room conditions of 64 to 86 degrees Fahrenheit (18 to 30 degrees Celsius). Placing the machine in an unheated garage or direct sunlight causes thermal swings that internal heaters struggle to correct. Verify internal readings using an independent monitor from our incubator thermometer hygrometer guide to ensure factory digital readouts remain accurate.
Manage humidity and moisture levels
Managing moisture is where duck egg hatching differs most from chicken egg hatching. Duck eggs have a thick shell membrane and larger fluid volume. During active incubation, prior to lockdown, managing moisture is essential. If humidity is too dry, internal fluids evaporate too quickly and embryos dehydrate within oversized air cells. If humidity is kept too wet during this period, the internal air cell fails to expand adequately, leaving ducklings insufficient air space when they attempt to pip.
Automated humidity systems simplify this balance. In the GleeGearNex Gen IV, the maker lists a presettable humidity range of 20 to 75 percent RH driven by an automated pump and external bottle supply. External refill ports allow keepers to replenish water reservoirs without opening the lid. Opening the incubator releases heat and drops chamber moisture, requiring recovery time. Track relative humidity with a dedicated sensor from our hygrometer for egg incubator guide to confirm moisture levels support proper air cell growth.
Egg positioning and turning schedules
Regular turning prevents the growing embryo from sticking to the inner shell membrane and supports healthy vascular formation. Duck eggs develop reliably when laid flat on roller bars or set in tilted cradles with the large blunt end elevated above the narrow point. Setting eggs with the small point upward traps the air cell at the bottom, which prevents successful hatching.
Automatic turning trays ensure consistent movement without requiring manual intervention throughout the day. Sailnovo and WONEGG list automatic rotation every 2 hours, DEZHXHE turns eggs every 120 minutes, and CoInceptus defaults to rotation every 90 minutes using 5 adjustable spacing rollers. Holdwell S provides an automatic 90-degree turning mechanism. Movable dividers, such as those in the GleeGearNex 48-egg design accommodating 56 chicken eggs or 112 quail eggs, let you widen spacing so large duck eggs turn smoothly without binding against each other. Our automatic egg turner for incubator guide reviews tray designs suitable for larger poultry eggs.
Candling duck eggs to monitor development
Candling allows keepers to observe embryo development through the shell without breaking the incubation cycle. Conduct candling in a darkened room using a concentrated light beam placed flush against the large blunt end. Within the initial week, viable eggs reveal delicate spider-like vascular webs spreading out from a dark embryo eye spot. Clear eggs that show no development, as well as eggs with blood rings indicating early cessation, should be removed immediately to protect the chamber from bacterial decay.
Many modern units include integrated inspection lights directly on the machine casing, letting you inspect shells without purchasing separate accessories. For detailed guidance on identifying fertile air cells and vascular patterns, see our egg candler guide. If you are uncertain about egg viability or embryo movement, contact your local state extension office or an avian specialist for guidance.
Should you wash dirty duck eggs?
Backyard ducks love water and mud, which often leads to soiled nesting areas and dirty eggshells. Keepers are frequently tempted to scrub muddy eggs under running tap water before setting them, but washing is counterproductive. Washing eggs in water strips away the protective bloom and draws surface bacteria through open shell pores directly into the albumen.
Instead of washing, practice preventative management. Keep duck house bedding clean and deep, collect eggs early each morning, and select naturally clean shells for hatching. If a shell has a spot of dry dirt, buff it gently with a dry, soft cloth or clean stiff brush without stripping the waxy cuticle. Our guide to cleaning fresh eggs details how washing affects natural shell cuticles. Eggs that are heavily caked in mud or manure should be discarded rather than incubated.
Entering lockdown before the hatch
The closing stage of incubation is known as lockdown. During lockdown, critical management changes occur: mechanical egg turning stops, bottom trays are leveled or lined with slip-resistant mesh, and humidity is increased. Ceasing rotation allows developing ducklings to orient their bodies toward the air cell and push their bills into position for internal pipping.
Incubators such as Sailnovo and GleeGearNex switch off egg turning automatically for the final 3 days before the target hatch date, while WONEGG directs keepers to remove the turntable in the last 3 days. While the final 3 days commonly marks the start of lockdown for many domestic duck batches, keepers should verify timing against their specific breed guidelines rather than relying on a single fixed schedule. During these final days, increase humidity so shell membranes stay soft and pliable. Once ducklings begin external pipping, keep the incubator lid shut tight. Opening the lid during active pipping vents humidity rapidly, which can cause membranes to dry out and shrink-wrap around the emerging duckling. Allow hatched ducklings to dry and fluff up inside the warm chamber before transferring them.
Mind the power supply and ambient room conditions
Incubation equipment requires stable electrical supply and an even room climate. A power failure that lasts several hours can cool developing eggs and compromise hatch rates. Certain units provide backup power options: DEZHXHE supports dual power switching to a 12V battery power supply (recommended above 50AH capacity), while CoInceptus provides dual 110V and 12V clamp wire connections to maintain operation during outages.
Room environment directly influences incubator stability. Operate your hatcher in an interior room with steady ambient temperatures. GleeGearNex specifies ambient room conditions of 64 to 86 degrees Fahrenheit (18 to 30 degrees Celsius) and room humidity above 40 percent RH. Avoid uninsulated sheds, drafty hallways or windowsills where sunlight produces thermal spikes. Connect electrical cords to a GFCI-protected outlet and keep cords routed away from foot traffic.
Daily rhythm during duck egg incubation
A simple daily routine prevents oversights and keeps incubation conditions consistent throughout the cycle. Each morning, check the water level in external bottles and verify that digital temperature and humidity readouts match target ranges. Check that the automatic egg turner is cycling as scheduled, and inspect vents to maintain proper airflow. In the evening, perform a quick check of water reservoirs and chamber stability.
Modern units provide warning systems to simplify monitoring. Built-in audible alarms notify keepers if internal humidity or heat drifts beyond preset parameters. While eggs incubate, prepare your brooding area so it is ready before hatch day. Review our duck brooder guide and duck brooder cleaning guide for setting up warm, dry quarters for newly hatched ducklings. If ducklings show signs of weakness or unusual distress after hatching, seek advice from a poultry vet or your state extension office.
A simple duck egg incubation checklist
- Select clean, unwashed eggs with sound shells and store in a cool area before setting
- Preheat the incubator and verify temperature stability with an independent thermometer
- Fill external water reservoirs to establish consistent chamber humidity
- Position eggs horizontally or with large blunt ends slightly elevated on adjustable rollers
- Confirm automatic turning operates continuously throughout early development
- Candle eggs to identify viable embryos and discard clear or expired shells
- Cease egg turning and elevate humidity levels as lockdown begins for the final 3 days
- Keep the incubator lid closed throughout external pipping and hatching
For choosing an automated hatcher that fits your batch size, see our guide to egg incubators with automatic turners.
Pick a species and a set date for candling days, lockdown and hatch day, with a calendar file to save.
Run the incubator for a day before you set eggs to confirm temperature and humidity, keep it away from direct sun and drafts, and plug it into a protected outlet. Plan the brooder before hatch day. Wash your hands after handling eggs and chicks. See CDC backyard poultry guidance. Read our Safety Disclaimer.
FAQ for the flock
How should you clean duck eggs for incubation?
Clean duck eggs by dry brushing loose debris with a clean, soft cloth or dry brush. Avoid soaking or washing duck eggs in water, as liquid strips away the natural protective bloom and draws surface bacteria into shell pores. Eggs with heavy dirt, manure or structural cracks should be discarded rather than incubated.
How do you set duck eggs in an incubator?
Set duck eggs horizontally on roller racks or with the large blunt end tilted upward in tray cradles. Never position duck eggs with the narrow pointed end upward, as this traps the air cell at the bottom and disorients the embryo. Ensure tray dividers or rollers provide adequate spacing for larger duck egg dimensions.
How long do duck eggs take in an incubator?
Incubation duration varies depending on duck breed, incubator airflow and chamber temperature stability. Because development periods differ among waterfowl varieties, check breed-specific guidance or consult your local state extension office rather than guessing exact hatch timing.
Do duck eggs need an automatic egg turner?
An automatic egg turner is beneficial for duck eggs because consistent rotation prevents embryos from sticking to inner membranes. A duck egg incubator with turner automatically rotates eggs at regular intervals throughout the day. If turning eggs manually, mark opposite sides of each shell with a pencil to ensure complete, even rotation.
When should egg turning stop before hatching?
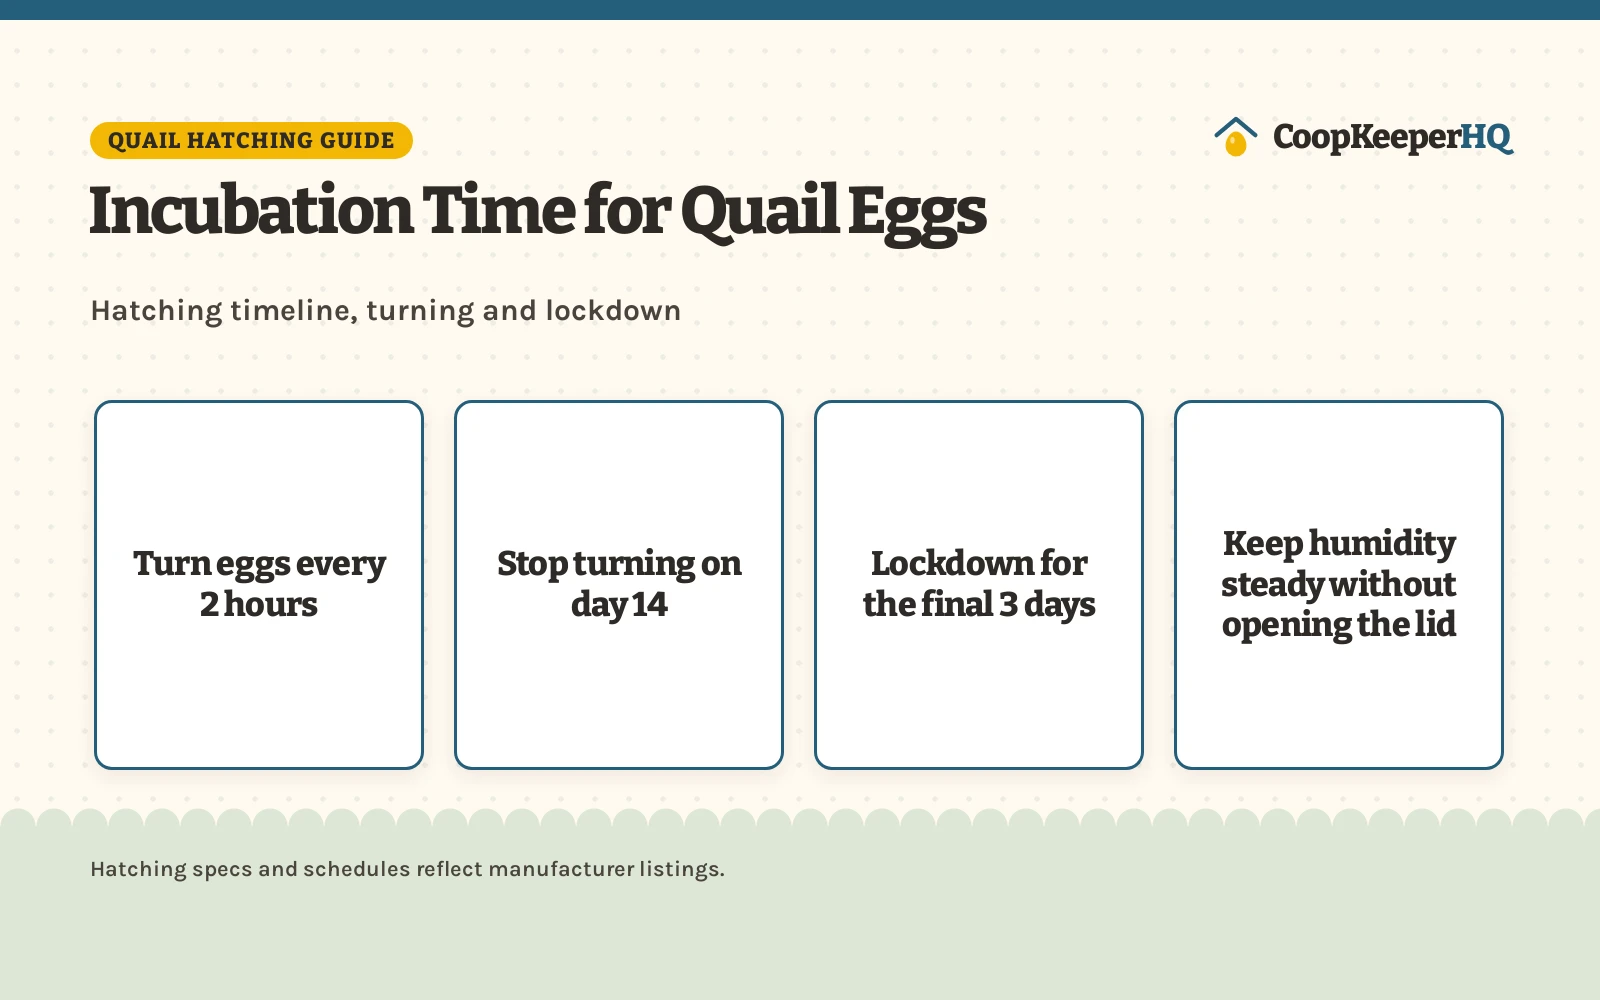
Egg turning typically ceases for the final 3 days before the target hatch date as the incubator enters lockdown, though exact timing can vary slightly by duck breed. In incubators such as Sailnovo and GleeGearNex, turning switches off automatically for the final 3 days, while WONEGG requires removing the turntable in the last 3 days so ducklings can orient their bills toward the air cell for pipping.
More coop guides
- Egg Incubator for Large Eggs: 5 Top Hatchers Compared (2026)
- Best Incubator Thermometer Hygrometer (2026): 5 Top Hatching Monitors
- Automatic Egg Turner for Incubator: 5 Trays Compared (2026)
See the incubators and hatching picks and the ducks, quail and turkeys guides.