Hatching Eggs Without an Incubator: Broody Hen and DIY Setup Guide (2026)
A practical guide to hatching fertile eggs naturally with a broody hen or maintaining emergency warmth and humidity in a DIY setup.

On this page
Top picks at a glance
As an Amazon Associate I earn from qualifying purchases.
- 1
 Egg Incubators for Hatching Eggs9.7/10View on Amazon
- 2
 Incubators for Hatching Eggs9.6/10View on Amazon
- 3
 Dural's DX5®9.6/10View on Amazon
- 4
 APDOE Egg Incubators for Hatching EggsView on Amazon
- 5
 12-24 Egg Incubator incubators for Hatching Eggs HumidityView on Amazon
- 6
 Egg Incubator for Hatching EggsView on Amazon
- 7
 18 Egg Incubators for Hatching EggsView on Amazon
- 8
 Incubator for Hatching EggsView on Amazon
- 9
 IBKINXX Incubator for Hatching Eggs-18 Egg CapacityView on Amazon
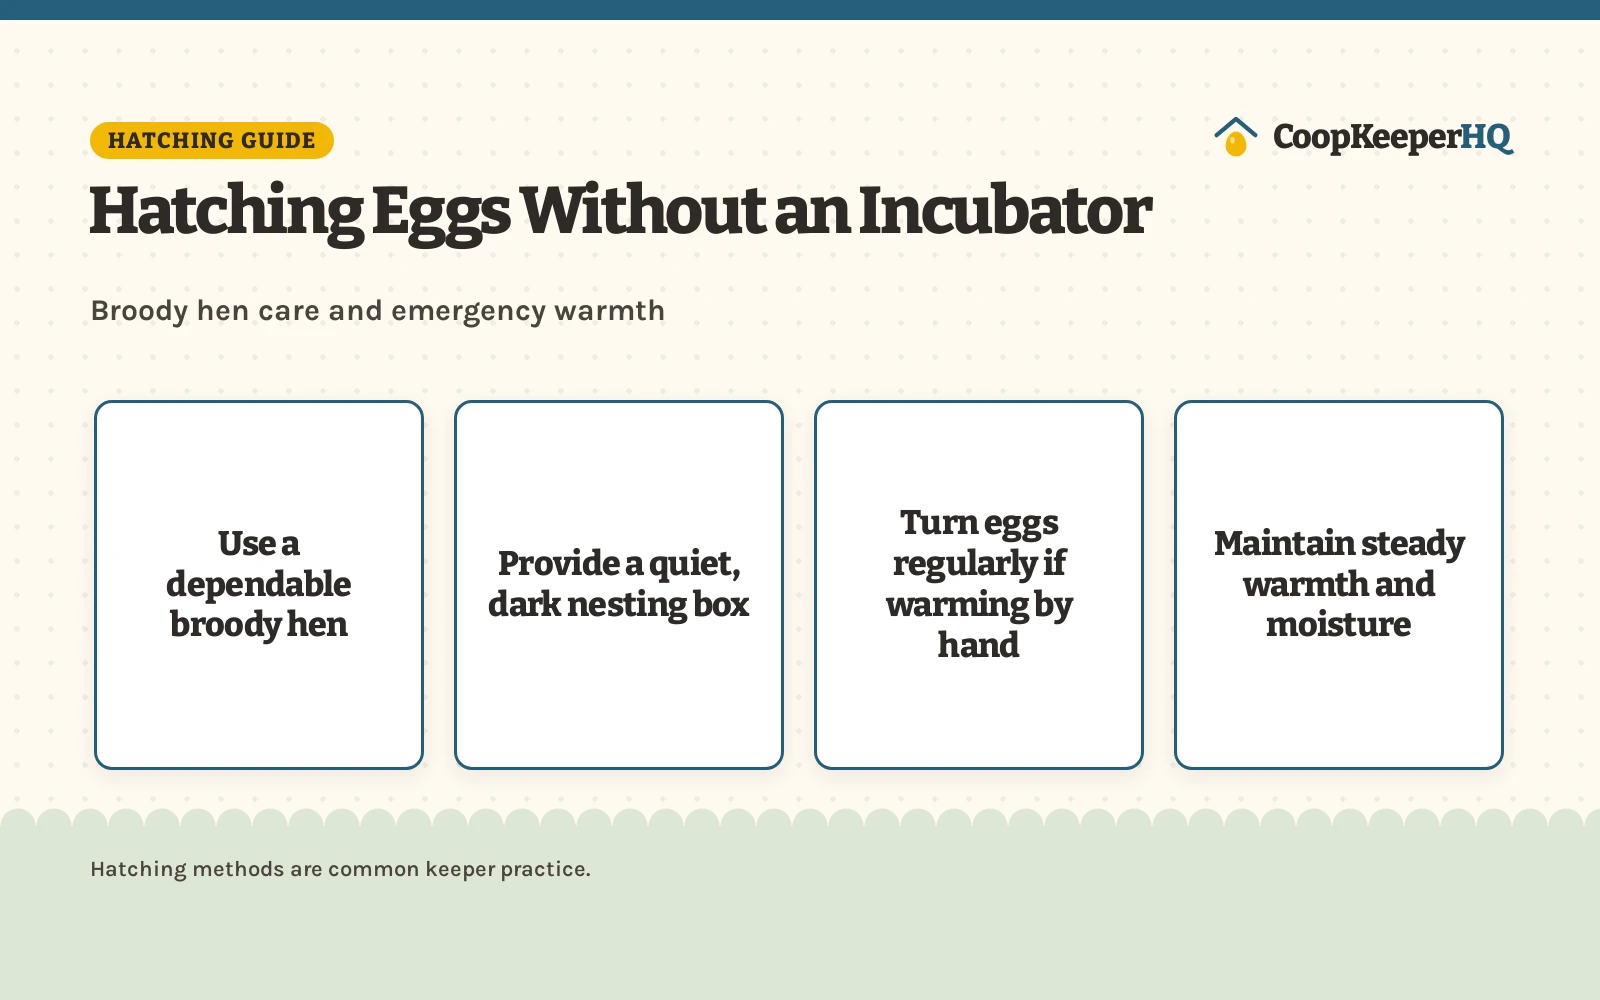
Hatching eggs without an incubator is entirely possible, and the most reliable method is letting a broody hen do the work. A broody hen naturally supplies the steady warmth, regular turning, and balanced humidity that developing embryos require to hatch into healthy chicks. When no hen is brooding, keepers can create a temporary emergency warming setup using a radiant heat plate and moist sponges, though natural brooding offers far better outcomes for backyard flocks.
Other options for the coop
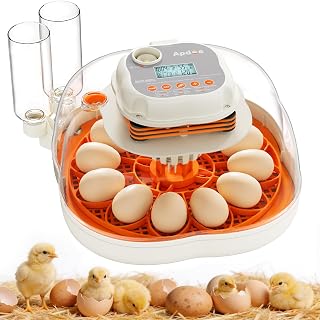 APDOE Egg Incubators for Hatching EggsCheck price on Amazon
 12-24 Egg Incubator incubators for Hatching Eggs HumidityCheck price on Amazon
 Egg Incubator for Hatching EggsCheck price on Amazon
 18 Egg Incubators for Hatching EggsCheck price on Amazon
 Incubator for Hatching EggsCheck price on Amazon
 IBKINXX Incubator for Hatching Eggs-18 Egg CapacityCheck price on Amazon
CoopKeeperHQ earns a commission if you buy through our links, at no added cost to you. Affiliate disclosure.
Hatching eggs without an incubator: the broody hen method
Mother Nature designed hens to incubate eggs long before electric cabinets existed. When a hen goes broody, hormonal shifts prompt her to stop laying, pluck feathers from her breast to expose warm skin, and remain sitting on the nest day and night. Her bare brood patch transfers body heat directly to the eggshells, maintaining an ideal microclimate that artificial devices strive to replicate.
Relying on a broody hen eliminates the worry of power outages, thermostat malfunctions, or manual turning schedules. The hen knows instinctively when to roll her eggs, shift her weight, and step off the nest briefly for food and water. For backyard keepers, managing a broody mother is often simpler and far more dependable than operating an electric machine, especially if you already keep dependable brooding breeds such as Orpingtons, Australorps, or Silkies.
Selecting and setting fertile eggs
A successful hatch starts with fertile eggs gathered from healthy, well-nourished breeding birds. If you keep roosters with your laying hens, your daily collection will likely be fertile, but store-bought eating eggs will not develop. Our guide on chicken eggs for hatching explains the differences in fertility and handling that keepers should look for before setting a clutch.
Collect clean, smooth eggs across several mornings and store them in a cool, humid pantry with the pointed ends angled downward. Avoid washing them, because washing strips away the protective outer cuticle that shields porous shells from environmental bacteria. When ready to set the clutch, mark the shells gently with a pencil so you can easily identify the hatching clutch and distinguish it from any newly laid eggs. For detailed handling steps, see our advice on collecting eggs for incubation.
Preparing a private brooding nest
Coop nesting boxes can become chaotic when multiple laying hens fight over the same favorite box. To give your broody hen the peace she needs, move her to a dedicated brooding area away from flock commotion and bullying. A quiet corner on the coop floor, a converted puppy crate, or a small ground-level coop section will keep her safe from disruption.
Line the nest box with a thick layer of fresh, dry wood shavings or chopped straw to insulate the eggs from cold drafts beneath. Place fresh water and a feeder nearby so the hen can eat and drink during her brief daily breaks without leaving her clutch exposed to cold air for extended periods. Make sure the nest box entrance sits low enough that newly hatched chicks will be able to climb back inside without tumbling over steep ledges.
Managing the clutch and daily routine
After your hen settles firmly on her nest, she handles nearly all the incubation duties herself. Your daily chore is making sure she remains undisturbed, stays hydrated, and takes a brief recess each day to relieve herself and feed. Some fiercely dedicated broody hens refuse to get up at all; during early and mid incubation, gently lifting the hen off the nest each morning encourages her to stretch, eat, and drink, though she should be left completely undisturbed once hatching approaches.
Check the nesting material periodically for broken shells or soil. If an egg cracks under the hen, remove the damaged shell promptly and wipe any soiled neighboring eggs with a clean, dry cloth to prevent bacteria from fouling the porous eggshells. Avoid using wet cleaning solutions on warm shells. If you notice unusual lethargy or external parasites on your brooding hen, consult a poultry vet or your local agricultural extension office for safe management practices.
Candling eggs to monitor embryo development
Candling lets keepers look inside the shell to verify whether embryos are developing properly. Using an egg candler or a bright flashlight in a darkened room, hold the light source against the blunt end of the egg while the hen is off the nest. A developing egg reveals an expanding network of dark blood vessels spreading outward from a central dark spot.
Clear eggs that show no internal vascular development after an extended incubation period are infertile or stopped growing early. Remove these clear eggs from under the hen so she does not waste body heat warming dead shells, and to prevent old eggs from spoiling and bursting inside the nest box. Handle eggs with clean, dry hands, and return them beneath the hen quickly so the clutch does not lose valuable warmth.
Emergency DIY incubation when no hen is broody
If you have fertile eggs that must be saved and no broody hen is available, you can build an emergency still-air incubation box from common household materials. Use an insulated styrofoam cooler or a sturdy cardboard container lined with towels to retain ambient heat. The goal is maintaining a steady thermal environment that mimics the mother bird.
For the heat source, avoid hot incandescent bulbs or open heat lamps, which create dangerous hot spots, dry out the air rapidly, and present severe fire risks inside bedding. Instead, use a heating pad paired with a reliable thermostat controller, or a flat radiant panel positioned safely above the clutch. Place a shallow dish of warm water with a clean, moist sponge inside the box to generate essential humidity. Check the setup frequently to ensure warmth remains steady without drastic room fluctuations.
Manual turning and humidity control in makeshift setups
Without a hen to shift the clutch, you must turn every egg by hand regularly throughout the day. Mark opposing sides of each eggshell with an X and an O using a soft graphite pencil. Turn each egg from side to side morning, midday, and evening so the developing embryo does not adhere to the inner shell membrane.
Maintain adequate moisture by re-dampening the sponge with warm water whenever the air feels dry. Proper humidity softens the inner shell membranes so chicks can rotate and break out smoothly during hatching. Keep the container closed between turnings to retain moist warmth, shielding the setup from chilly room drafts, open windows, and direct sunlight.
Lockdown and hatching day
During the final phase of incubation, known to keepers as lockdown, the clutch prepares for emergence. Stop turning the eggs entirely so the chicks can orient their beaks toward the air cell at the blunt end of the shell. If you are using a DIY container, raise humidity slightly by adding extra moist sponges and leave the box firmly closed.
When hatching begins, you will hear faint peeps inside the shells followed by a small crack, called a pip. Allow the chick plenty of time to unzip the shell circumference naturally. Never peel away shell fragments or pull a chick out, as tearing unabsorbed blood vessels can cause fatal bleeding. A broody hen will tuck the wet chicks under her fluff until they dry into soft, lively balls of down.
Brooding newly hatched chicks safely
After hatching completes, newly hatched chicks need a warm, draft-free shelter with clean bedding, chick starter feed, and shallow water. If a broody hen hatched the clutch, she will guide her babies to food, teach them to drink, and brood them under her feathers whenever they feel chilly. Keep them in a dedicated enclosure away from older flock birds until they grow larger.
If you hatched chicks using an emergency setup, transfer the dry chicks to a prepared brooder box. Rather than hanging a dangerous bulb, use an adjustable brooder heat plate that lets chicks warm their backs naturally beneath a flat radiant panel. For keepers planning future hatches, investing in an electric hatcher simplifies the process considerably; our guide on how to use an egg incubator outlines standard machine routines.
A simple hatching checklist
- Verify egg fertility and select clean, unwashed shells with sound structures
- Prepare a quiet, private nest box lined with deep, dry shavings away from other hens
- Allow a dedicated broody hen to warm, turn, and protect the clutch
- Provide fresh feed and clean water close to the nest for daily breaks
- Candle shells midway through incubation to remove unviable eggs
- Stop turning eggs during the final lockdown days before emergence
- Prepare a warm brooder with an adjustable radiant heat plate for emergency hatches
To explore automated equipment and temperature controllers for future clutches, browse our comprehensive guide to incubators and hatching.
Pick a species and a set date for candling days, lockdown and hatch day, with a calendar file to save.
Run the incubator for a day before you set eggs to confirm temperature and humidity, keep it away from direct sun and drafts, and plug it into a protected outlet. Plan the brooder before hatch day. Wash your hands after handling eggs and chicks. See CDC backyard poultry guidance. Read our Safety Disclaimer.
FAQ for the flock
Can you hatch chicken eggs without an incubator?
Yes. The most effective way to hatch fertile chicken eggs without an incubator is by setting them under a broody hen. Hens naturally provide ideal warmth, regular turning, and balanced humidity. While makeshift DIY warming boxes with radiant heat plates can work in an emergency, broody hens deliver significantly higher hatching success.
How often should eggs be turned without an incubator?
In a manual DIY warming setup, eggs should be turned by hand multiple times each day, typically morning, midday, and evening. Mark opposing sides of the shells with soft pencil markings to track rotation. If you are using a broody hen, she will roll and reposition the eggs on her own throughout the day and night.
Can a broody hen hatch eggs from other hens?
Yes. Broody hens will willingly adopt and hatch fertile eggs laid by other hens in your flock, or even eggs from different poultry varieties. Gather clean hatching eggs from your desired breeding birds and place the full clutch under the broody hen at night so incubation starts evenly across all eggs.
Is a heat lamp safe for warming hatching eggs?
Heat lamps present serious fire hazards around dry bedding, feathers, and cardboard, and they create intense, uneven heat that can overheat delicate embryos. We advise avoiding heat lamps entirely. A thermostatically regulated brooder heat plate or heating pad offers a much safer, more uniform heat source.
What should you do if a broody hen abandons her clutch?
If a hen leaves her nest before hatching, move the eggs immediately into a warm, insulated box with a gentle radiant heat source and a damp sponge for moisture. Alternatively, slide the clutch beneath another willing broody hen if another hen is active in your coop. Check the abandoned nest box for pests or disturbances that may have frightened the mother bird.
More coop guides
- Collecting Eggs for Incubation: Step-by-Step Guide for Backyard Flocks
- How to Use Egg Incubator: Step-by-Step Guide for Backyard Flocks
- What Is an Egg Candler?
See the incubators and hatching picks and the brooder guides.