Staple Gun Manual: Fasten Wire and Fabric by Hand
A step-by-step guide to using a manual staple gun: load the magazine, match the staple to the material, and drive staples that sit flush and hold.

On this page
Top picks at a glance
As an Amazon Associate I earn from qualifying purchases.
- 1
 PHITRIC 4-in-1 Heavy Duty Staple Gun with 1200 Staples9.4/10View on Amazon
- 2
 Arrow T50 Heavy Duty Staple Gun Kit with 3750 T50 Staples9.5/10View on Amazon
- 3
 Arrow T55BL Heavy Duty Staple Gun Kit with 3750 T50 Staples9.5/10View on Amazon
The run wire has come loose at the corner again, and the staples that held it have worked their way out of the frame. A staple gun manual is the step-by-step guide to putting it right with a hand-powered staple gun: load the magazine, match the staple to the material, and drive each staple home so the wire stays put. This guide covers the whole job, from choosing the gun to the last check, with the figures the listings state and nothing guessed.
CoopKeeperHQ earns a commission if you buy through our links, at no added cost to you. Affiliate disclosure.
Staple gun manual: choose the right gun
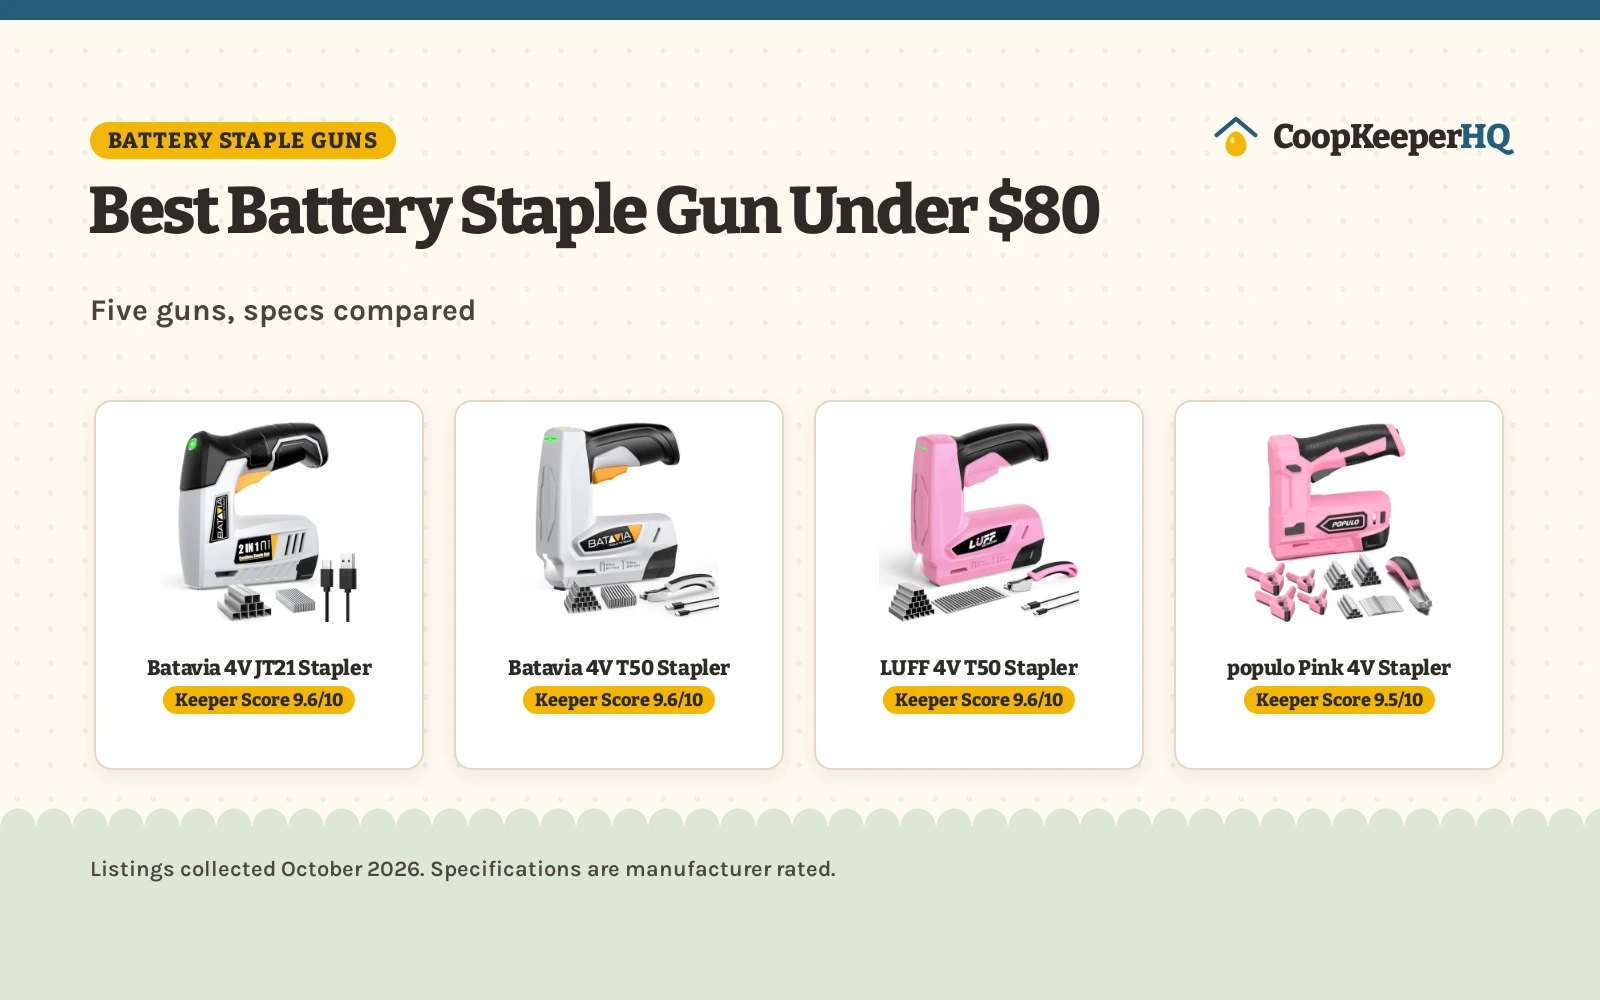
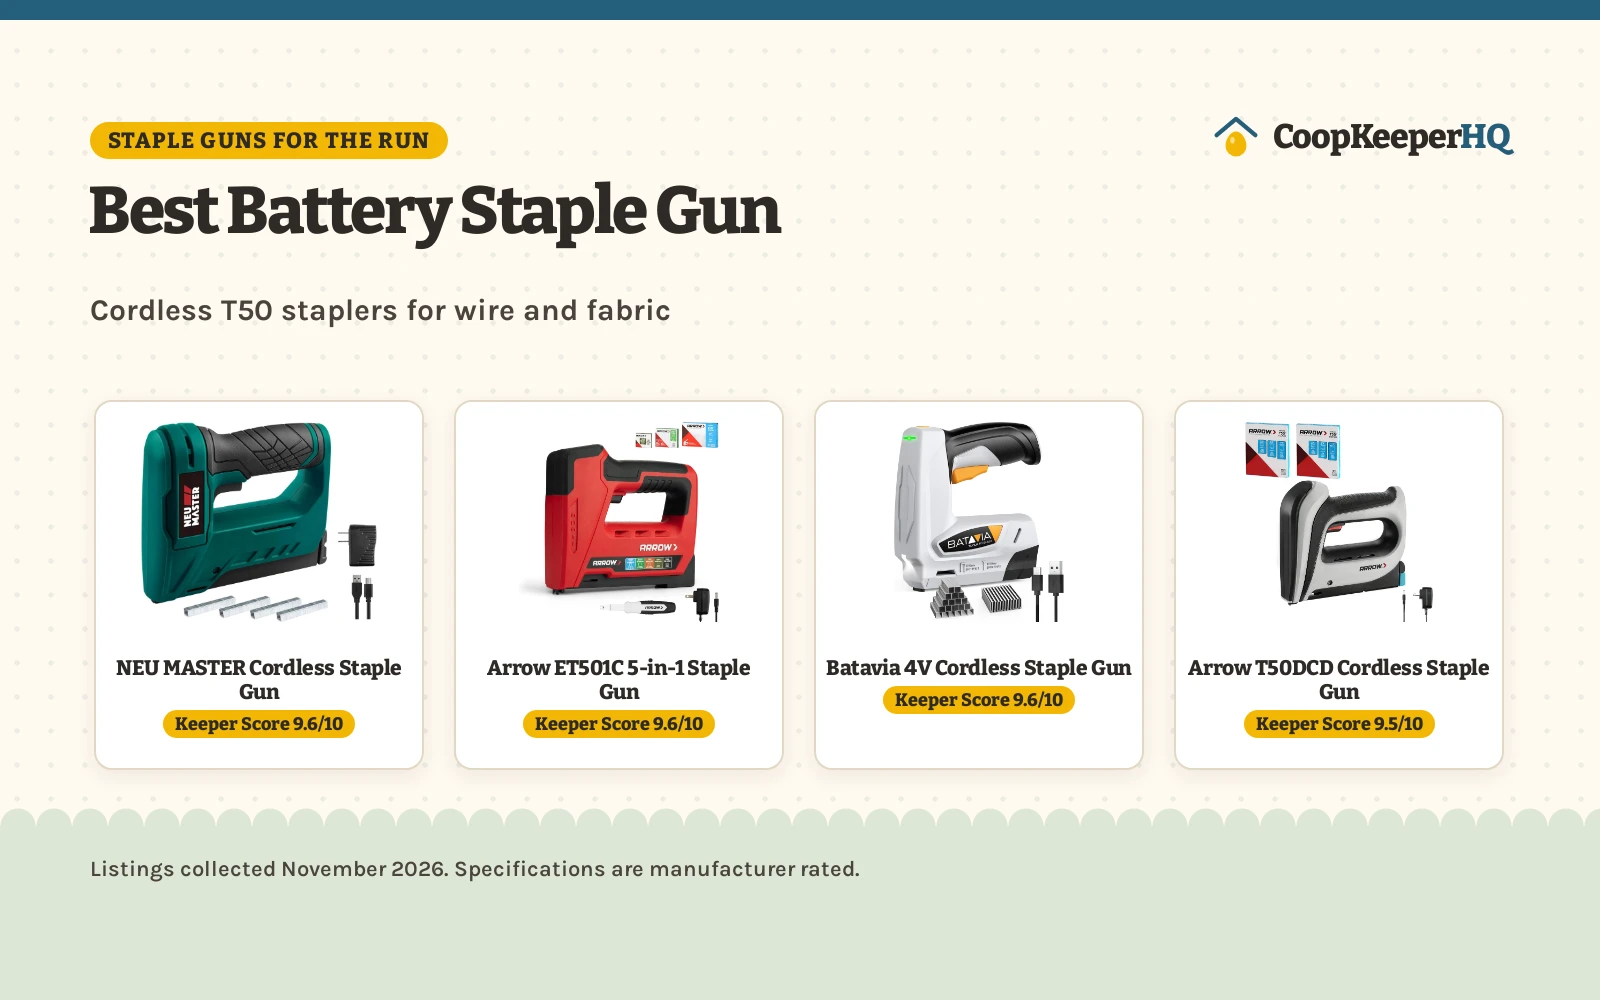
Start with the gun, not the staple. A manual staple gun is a hand-powered tool: squeeze the handle and the spring drives the staple. Several listings describe a 3-in-1 gun that takes D-type, U-type and T-type staples, while one 6-in-1 listing names six fastener types: T50, JT21, T20, T25, 18-gauge brad nails and PIN. A 4-in-1 gun sits in the middle, and a 2-in-1 tacker covers light work. One listing names small fencing among its uses, and another notes a flip-out wire guide for stapling over cables. See the types of staple guns guide for the full comparison.
Step 2: load the magazine
Find the magazine: many of these guns load from the bottom, with a latch or a binding switch to pull down, while one loads from the rear. Slide the staples in with the points facing the outlet and close the magazine until the latch catches. Some guns have a staple-viewing window that shows when a reload is due. Load only the staple type the gun takes: a D-type staple belongs in a D-type channel, and a brad nail belongs in the brad channel. If the magazine will not close, take the staples out and start again rather than forcing it.
Step 3: match the staple to the material
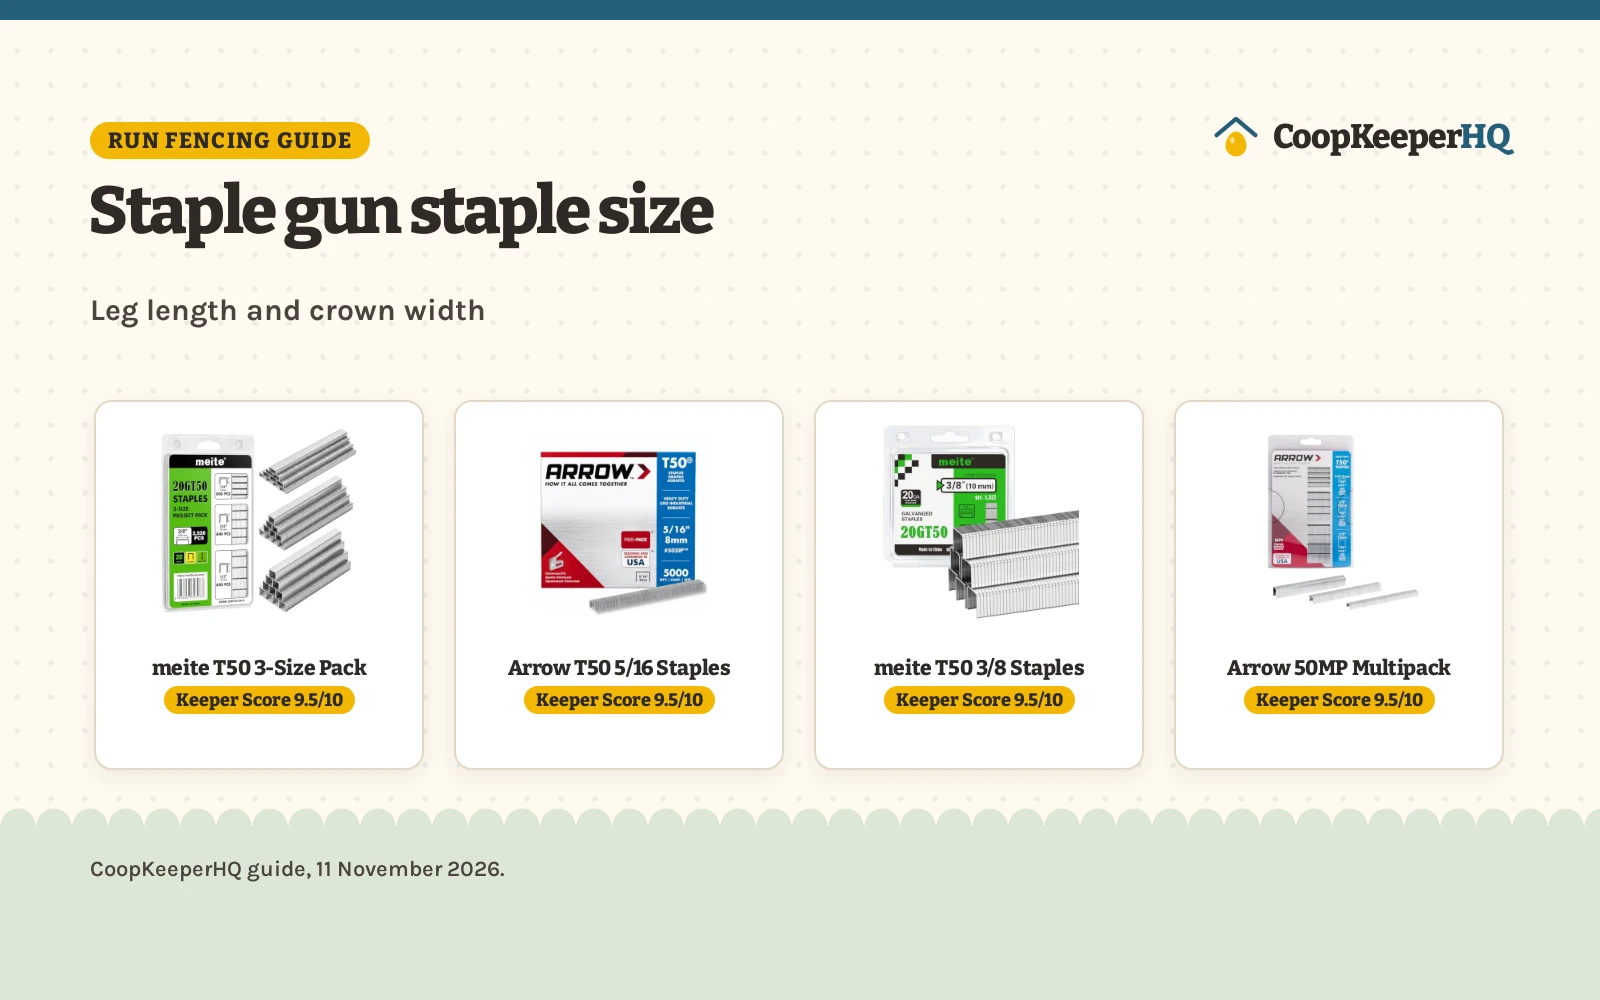
The staple must suit the material, or it will not hold. D-type staples, the T50 size, run from 3/16 to 9/16 inch and suit fabric, upholstery and wood. U-type staples, the T18 size, run from 3/8 to 1/2 inch and suit wire and cable, where the rounded crown spreads the load. T-type brads run from 3/8 to 9/16 inch and suit trim and light wood. The SHALL kit (on Amazon) lists 3000 staples, with 1000 each of 5/16 inch D-type, 15/32 inch U-type and 25/64 inch T-type, so a single kit covers most jobs around the coop. See the staple gun staple size guide for the full size chart.
Step 4: set the power and drive the staple
Set the power before the first staple. Most guns have a knob or a lever: turn the knob, or move the lever between High and Low, to suit the material. Hard wood needs more force than soft fabric, and a staple that stands proud needs more power, while a staple that sinks too deep needs less. Press the nose flat against the material, hold the gun steady, and squeeze the handle in a smooth stroke. Keep your hands clear of the outlet and never point the gun at people or animals. Check the staple after each drive: it should sit flush with the surface, with the crown flat and the legs buried.
Step 5: fasten wire to the run
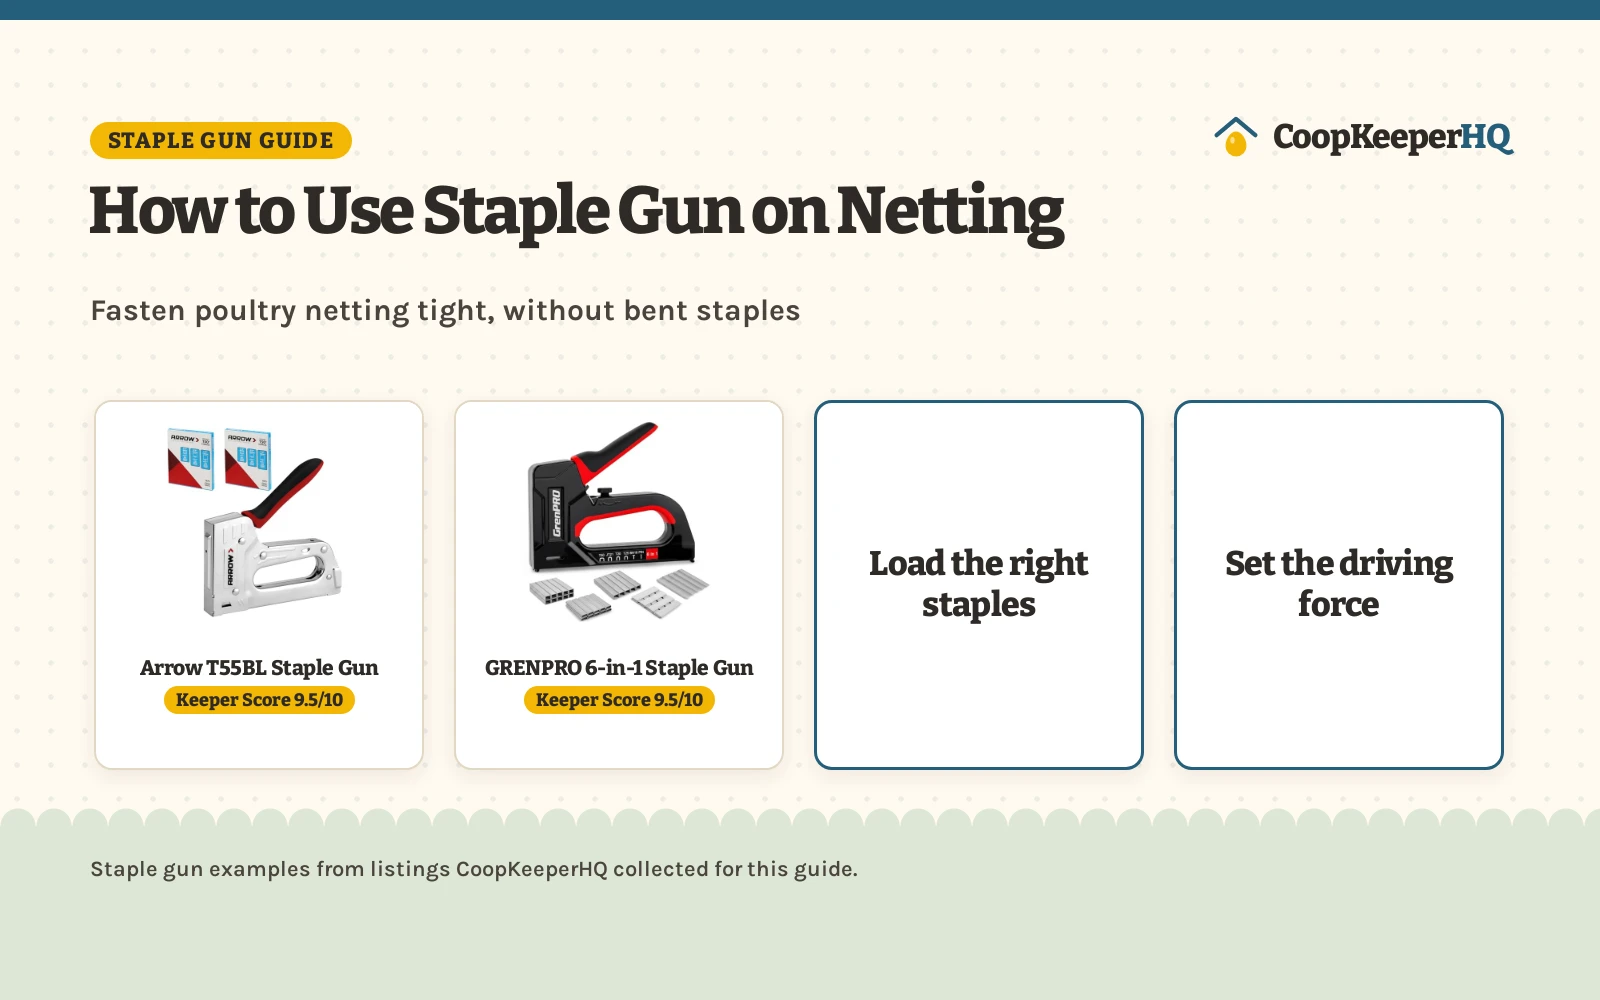
Wire work is where a staple gun earns its keep around the coop. Pull the wire taut against the frame and hold it in place, then drive U-type staples over the wire and into the wood, spacing them evenly along the frame. The wire guide on some guns helps the staple land square over the wire. Work along the frame in order, and check the wire stays taut as you go: a loose run lets the wire sag and leaves a gap a predator can work. See the hardware cloth guide for the mesh to pair with the staples, and the staples vs nails for chicken wire comparison before you choose.
Clear a jam without a fuss
A jammed staple stops the gun, not the job. Pull down the binding switch and lift out the stuck staples, then reset the card slot and close the magazine. Run a few empty strokes to check the feed, then load fresh staples and carry on. If the gun jams again at once, check the staple type: a staple that does not match the gun is the usual cause.
Keep the gun ready for the next job
A little care after the job keeps the gun ready. Take the staples out before you lock the handle: the retractable handle lock saves space in storage, and a locked gun cannot fire by accident. Wipe the gun clean and store it dry, with the magazine empty. Check the grip and the latch before the next job, and replace a worn gun rather than forcing it to work.
A simple staple gun checklist
- Gun takes the staple type for the job
- Magazine loads cleanly and the latch catches
- Power knob or lever set for the material
- Staples sit flush with the surface
- Wire stays taut along the frame
- Handle locked and magazine empty in storage
For the full run of fencing work, see the staple gun for hardware cloth guide, and the chicken runs and fencing guides for the rest of the run.
Wash your hands after handling birds, eggs or equipment, supervise children around the flock, and check local rules on flock size and roosters before you buy. For sick birds, call a poultry veterinarian or your state extension office. See CDC backyard poultry guidance. Read our Safety Disclaimer.
FAQ for the flock
What staples fit a manual staple gun?
The 3-in-1 and 4-in-1 guns take D-type, U-type and T-type staples; the T-type is the 18-gauge brad nail. D-type staples, the T50 size, run from 3/16 to 9/16 inch; U-type staples, the T18 size, run from 3/8 to 1/2 inch; and T-type brads run from 3/8 to 9/16 inch. Check the listing for the gun you hold: the staple types it takes are printed on the box and in the listing.
Why do my staples not drive all the way in?
The power is set too low for the material, or the staple is too long for the wood. Turn the power knob up, or move the lever to High, and drive a fresh staple to check the setting. Hard wood needs more force than soft fabric, and a staple that stands proud after the change needs a shorter staple or a stronger setting.
How do I clear a jammed staple gun?
Pull down the binding switch, lift out the stuck staples, and reset the card slot before you close the magazine. Run a few empty strokes to check the feed, then load fresh staples. If the gun jams again at once, the staple type is wrong for the gun.
Can a staple gun fasten wire to a chicken run?
Yes. U-type staples hold wire and cable against wood, and one listing names small fencing among its uses. Pull the wire taut, drive the staples over the wire into the frame, and space them evenly along the frame. For heavy wire, check the staple size guide first: a staple that is too short will not hold.
What is the difference between a 3-in-1 and a 6-in-1 staple gun?
A 3-in-1 gun takes D-type, U-type and T-type staples. A 6-in-1 gun takes six fastener types; one listing names T50, JT21, T20, T25, 18-gauge brad nails and PIN, so it covers more jobs with a single tool. Kits with the gun include from 900 to 6000 staples, so check the count before you buy.
More coop guides
- Best Staple Gun for Hardware Cloth (2026)
- Staple Gun Staple Size: Leg Length and Crown Width for the Run
- Types of Staple Guns: Which One Fits Wire Fencing
- Staples vs Nails for Chicken Wire: Which One Should You Buy?
- Best Staples for Hardware Cloth (2026): 5 Picks for the Run
- Galvanized vs Stainless Fence Staples: Which One Should You Buy?
See the chicken coop picks and the coop supply guides.